
Last updated November 15, 2026
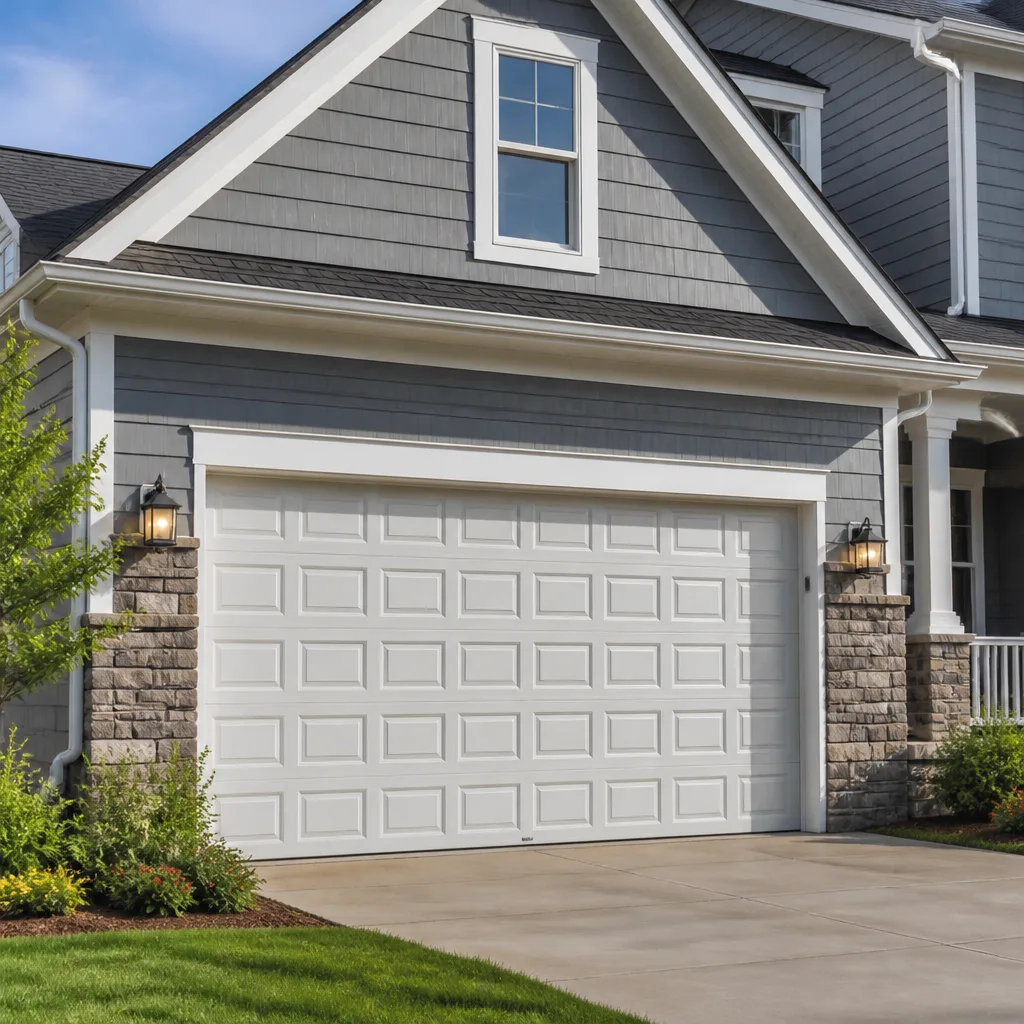 Raised-panel steel
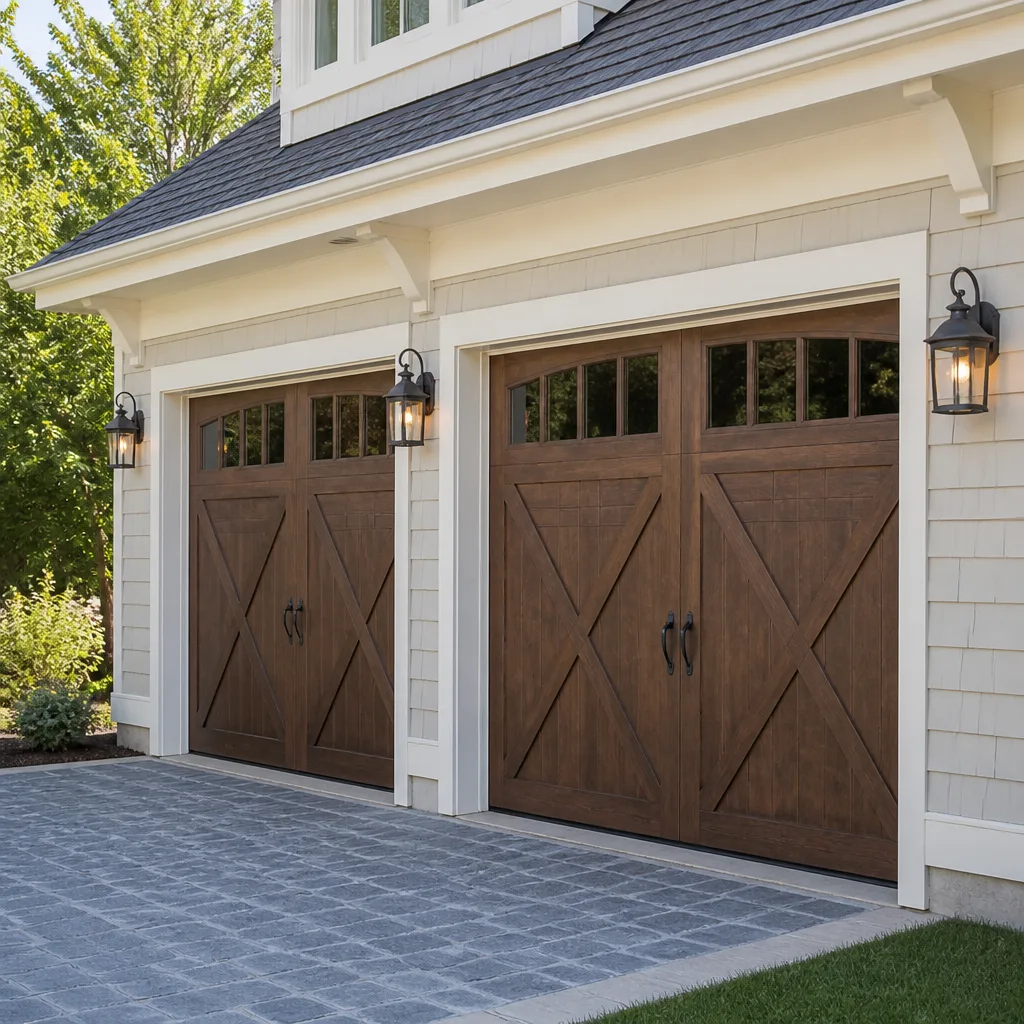 Carriage house
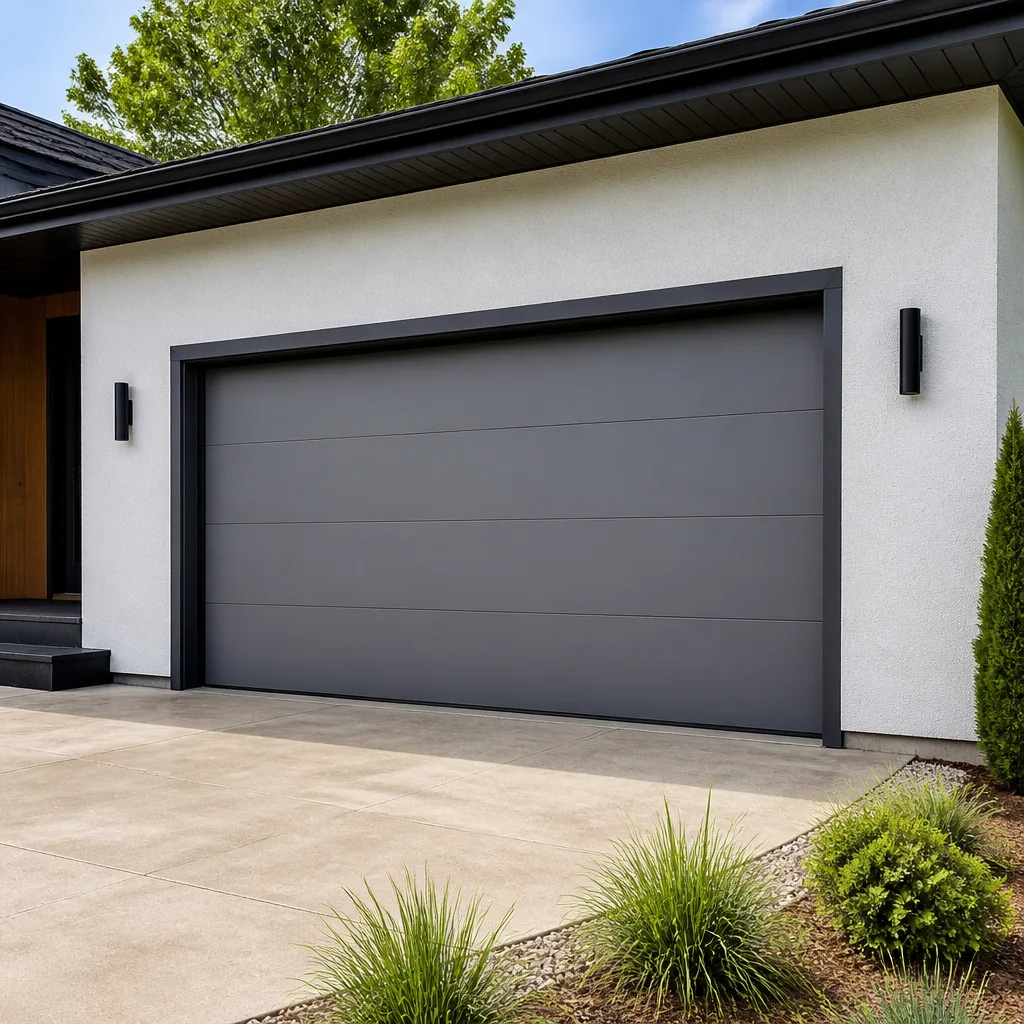 Modern flush
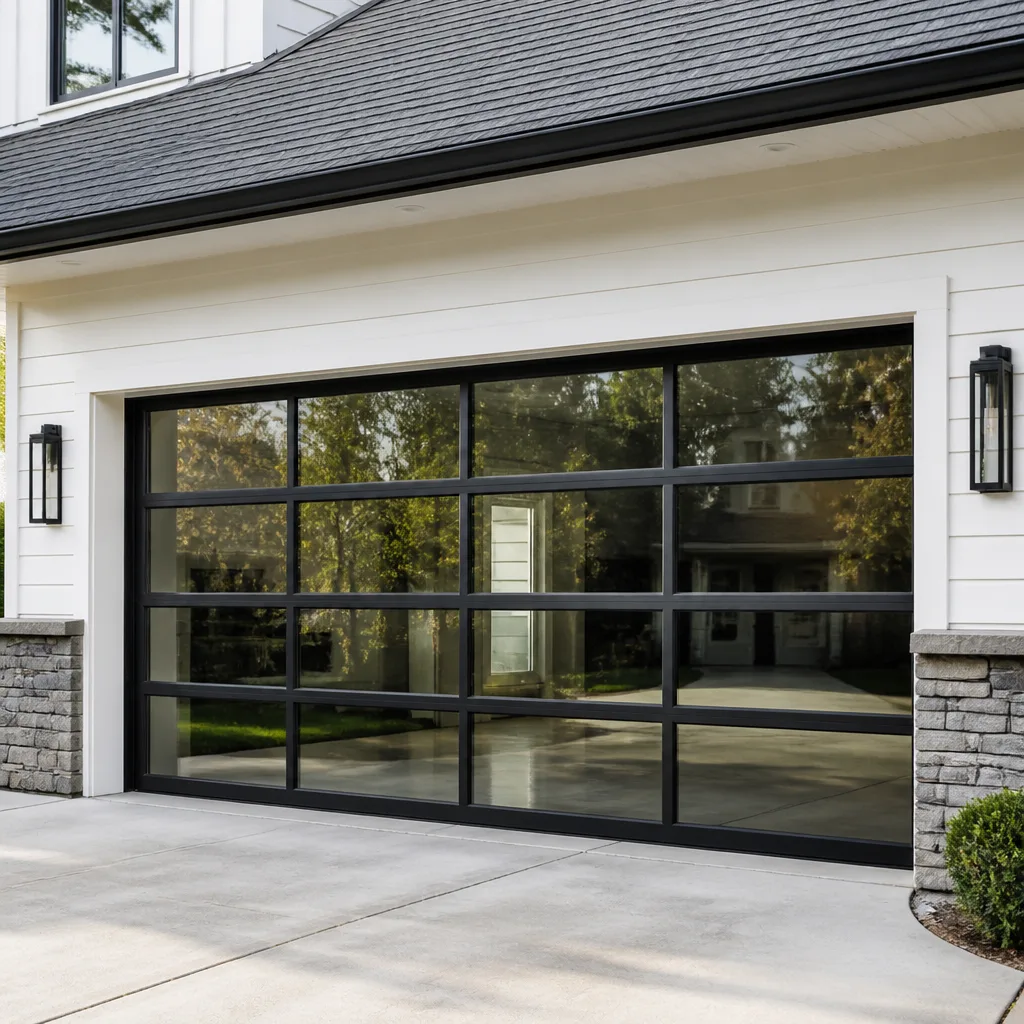 Full-view glass
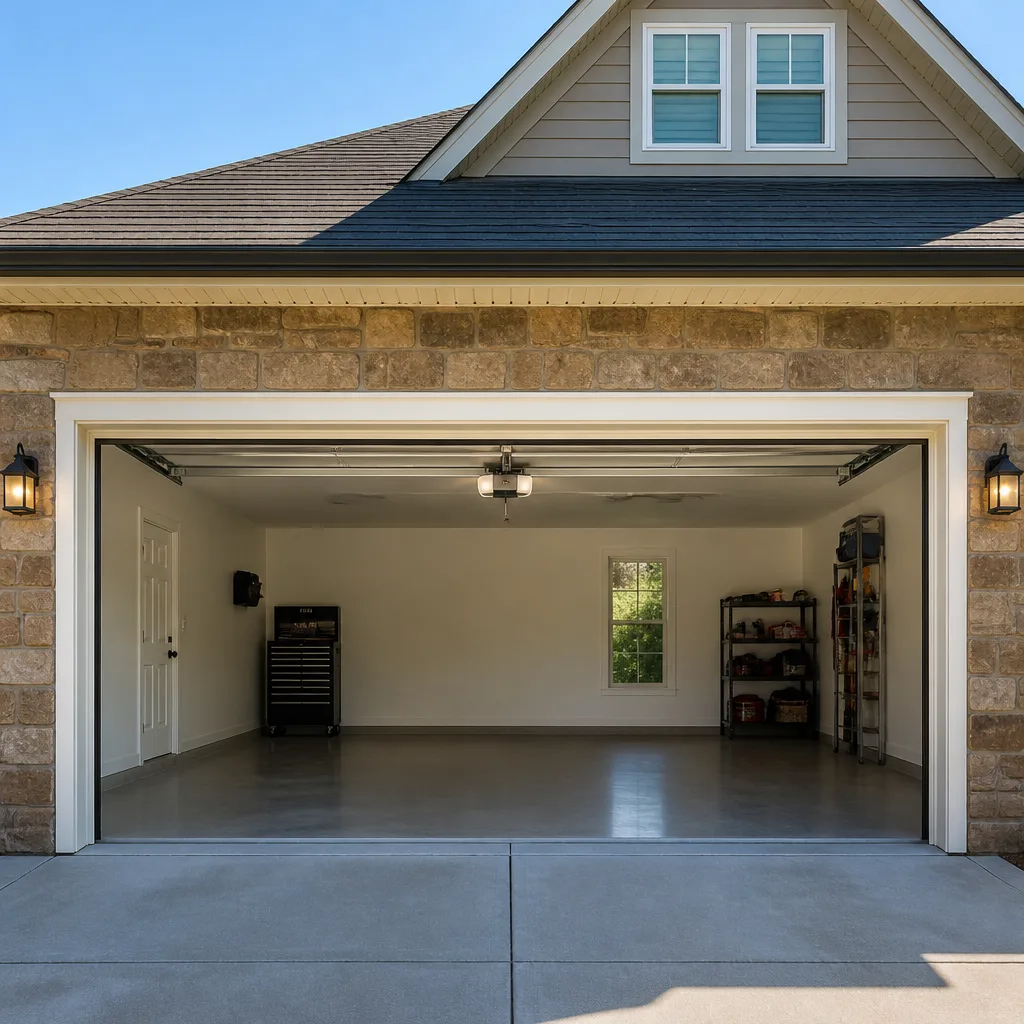 LiftMaster openers
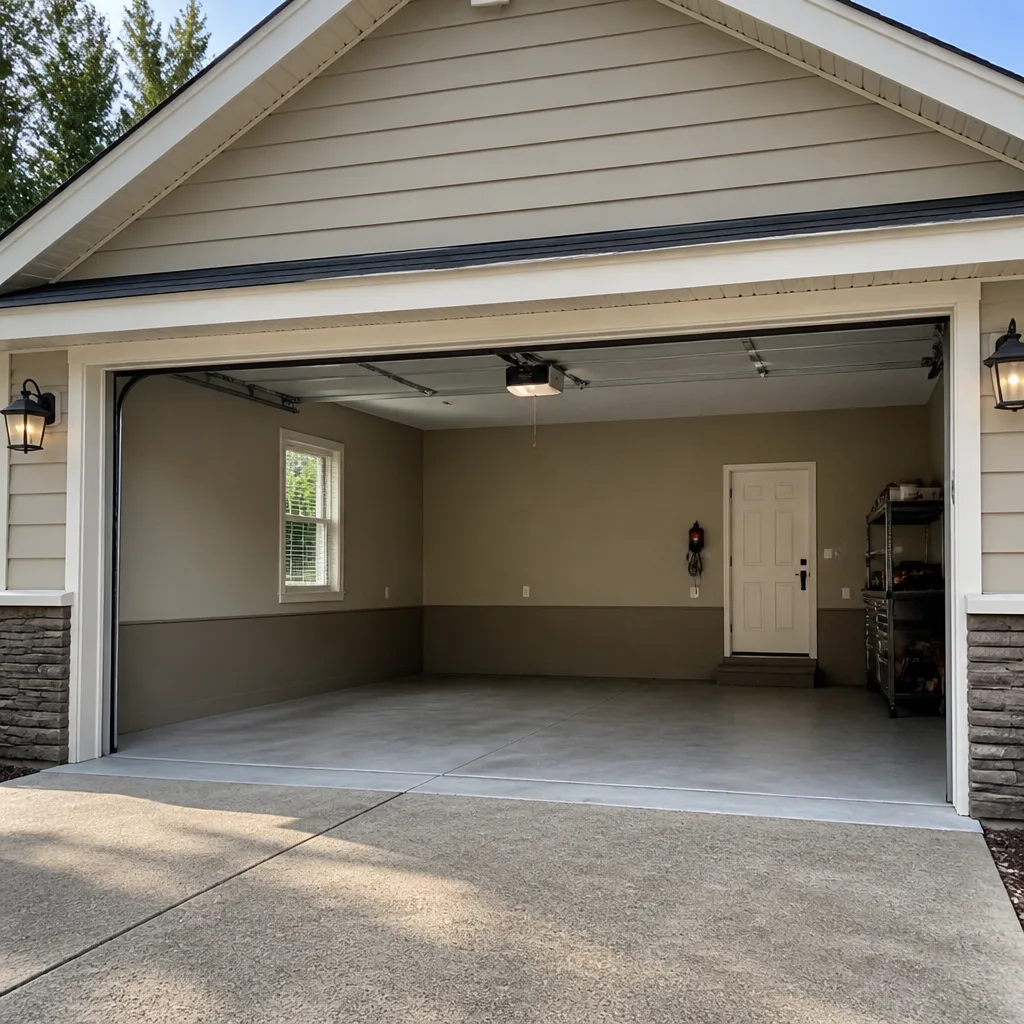 Chamberlain openers
Full 25-point door and opener safety check with every visit - springs, cables, rollers, tracks, and your LiftMaster or Chamberlain opener included
You get a price before we start. It does not change when the pro arrives.
Get your free estimateDIY vs Professional Garage Door: The St. Paul Homeowner’s Decision Guide
A wound torsion spring stores roughly 100 foot-pounds of torque, enough force to do serious damage if it lets go while your hands are near it. Yet videos of homeowners replacing springs pull millions of views, and plenty of people get the job done, until the one time they don’t. That gap between “usually works” and “works every time” is where this whole decision actually lives. Garage doors don’t split cleanly into “easy” and “hard” repairs; they split into tasks whose failure mode is a door that won’t open and tasks whose failure mode is an injury. This guide draws that line task by task, so you know exactly what’s safe to take on and where to stop.
Quick Answer
In St. Paul, most homeowners can safely handle weatherstripping, lubrication, safety-sensor alignment, remote programming, and balance testing with the right tool. Springs, cables, and track realignment are not DIY territory, because their failure modes cause serious injury or a door that comes down hard. Everything else sits in between and depends on the part and the warranty.
Styles & brands we work with
- Raised-panel steel
- Carriage house
- Modern flush
- Full-view glass
- LiftMaster openers
- Chamberlain openers
Table of Contents
- Where the Line Actually Sits: Safe DIY vs Never-DIY
- The Safe DIY Tasks in a St. Paul Garage
- Why Springs and Cables Are a Different Category
- Minnesota’s Frost Heave Problem and the Bottom Seal
- The Hidden Cost: How a Successful DIY Repair Voids a Warranty
- The Tools You Actually Need (and the One That Finds Door Problems)
- How to Talk to a Technician About Doing Part of the Job Yourself
- When to Call a Professional
Where the Line Actually Sits: Safe DIY vs Never-DIY
The garage door is one of the few systems on a house where the line between a reasonable Saturday project and a hospital visit runs right through the middle of a parts diagram. Most guides get this wrong. They hand you one blanket verdict, either “it’s all too dangerous” or “most of it is fine.” Neither is useful. What you want is the actual split, task by task, and that split comes down to one question: what’s the failure mode?
Here’s the split we’d draw for any homeowner in St. Paul:
Safe for a competent homeowner
- Weatherstripping around the frame
- Lubrication of hinges, rollers, and tracks
- Safety-sensor alignment and cleaning
- Remote and keypad programming
- Balance testing with the right tool
- Visual inspection of springs, cables, and hardware
Non-negotiable: call a professional
- Torsion and extension spring replacement
- Cable replacement or adjustment
- Track realignment and bracket work
- Opener logic board, drive gear, or capacitor replacement
- Panel replacement on a damaged door
The gray zone (read the part and the warranty)
- Bottom seal replacement, which in Minnesota is more involved than it looks
- Roller replacement, doable but easy to get wrong
- Opener force and travel adjustment, simple only if you follow the manual precisely
The safe list is safe because a mistake there produces a door that doesn’t seal, a sensor that doesn’t trip, or a remote that doesn’t work. The non-negotiable list is on it because a mistake there can release stored energy against your hands, a door panel, or both. That’s the entire distinction. Skill level matters less than consequences.
The Safe DIY Tasks in a St. Paul Garage
If you’re going to do anything to your garage door yourself, do these, and do them well. They’re the tasks that add years to the system without ever putting your body in harm’s way. For a busy household in St. Paul, they’re also the ones that make the loudest noise for the smallest effort.
Step-by-step: a safe annual tune-up
- Start with the door down. Never inspect or work on a door while it’s open. Confirm no vehicle is under it and the door is fully closed.
- Disconnect the opener. Pull the release handle so the door is on its manual track. Now the door is just springs and hardware, not a motor.
- Lubricate the moving parts. Apply garage-door lubricant to the hinges at each pivot point, the roller stems (not necessarily the roller face), and the torsion springs themselves along their whole length. Seal the lubricant in with a rag along spring coils. Don’t use WD-40 as a lubricant; it’s a solvent. Skip the wheels of nylon rollers and the tracks themselves.
- Inspect the hardware. Look for fraying on cables, gaps in the spring coils, bent track sections, and loose lag bolts at the frame. Note what you find. Don’t loosen anything to check it.
- Test the safety sensors. With the door closed, wave an object through the sensor beam and confirm the door reverses when you close it manually. If it doesn’t, follow the manual for alignment before calling anyone.
- Balance test the door using the method below. An unbalanced door is a sign more than one part is on its way out.
Weatherstripping and seals
Weatherstripping around the frame is one of the highest-value DIY jobs in a Minnesota garage. It’s a gasket, a stop, and a draft barrier all at once, and it’s what keeps the snow that blows against your door from turning into a sheet of ice at the threshold. It’s soft, forgiving work. Set aside an afternoon, not a full day, and check the old strip for the exact profile before you buy a replacement.
For the more serious jobs on this list, our garage door repair service handles what’s above your comfort level.
Why Springs and Cables Are a Different Category
A torsion spring, when wound, holds roughly 100 foot-pounds of torque. That number matters because it’s not a suggestion. It’s the energy stored in the coiled steel that waits for the next time someone loosens the wrong set screw. Every year someone in the metro gets to explain a broken wrist to an ER nurse, and the story always starts with “I’ve done it before.” Knowing how the spring works is not the same as being qualified to work on it, and that’s the distinction these videos never draw.
Here’s what makes springs a different category from every other repair on your garage:
- The danger is invisible. A wound spring looks still. It has no giveaway sounds like a bad bearing or a binding track. The energy is in the coil, not in movement, so it can release instantly when a winding cone or a set screw lets go.
- Winding bars are not optional and not improvised. Springs are wound with two winding bars and a ladder in the correct position. Long screwdrivers, sockets, or rods that happen to fit aren’t substitutes.
- Cables are under tension too. A snapped cable can whip. Replacing one means managing the spring tension behind it, which is where most DIY improvisation fails.
- Doors are heavier than they look. A standard double door can weigh a few hundred pounds. If the lifting mechanism goes while you’re holding it, the door is the second problem.
If your door is up on one side, a spring or cable is the likely culprit. Stop using the door and get a real diagnosis. Our Harvest Garage Door Repair team works on the springs and cables that are already on your door, whatever brand they carry. Springs are not a same-day DIY adventure. They’re a two-hour job for a technician with a ladder and the right bars.
Minnesota’s Frost Heave Problem and the Bottom Seal
Here’s where most national DIY guides miss something specific to St. Paul. Replacing the bottom seal on a garage door sounds like a 20-minute job anywhere else in the country. Here, it’s a seasonal geometry problem. Frost heave lifts the concrete slab under your garage floor during freeze cycles and drops it back in spring, which means the gap between the door and the floor changes shape and depth several times a year. A seal that fits cleanly in July can be a quarter-inch shy of the floor in January.
That changes how you approach the job:
- Measure the gap in the season you’re actually trying to solve for. A January measurement is worth more than a July measurement if what you’re fighting is a winter draft.
- Pick a seal with real depth, not a flat blade. A deeper U-shape or a bulb seal can absorb more movement in the slab than a thin single-lip blade.
- Check for uneven ground before you cut. If the slab has heaved on one side, a single straight strip of seal can leave a gap at the low end. Some doors need a stepped or padded seal to close that gap.
- Watch the track and roller clearances. Over-tightening the retainer on an uneven floor can bind the door as it travels.
None of this makes the job dangerous. It makes it more likely to leave your St. Paul garage half-sealed if you do it in the wrong season with the wrong part. Measure, choose, and re-measure. If the floor has shifted enough that a new seal bottoms out or drags, the door itself may need its down-limit adjusted, and that’s where a garage door opener repair visit or a full tune-up makes sense instead.
The Hidden Cost: How a Successful DIY Repair Voids a Warranty
The most expensive DIY repair is the one that works. Successful work can still cost you, because a door or opener that’s still under a manufacturer’s warranty often loses that coverage the moment it’s altered by someone who isn’t a qualified installer. This is the part of the DIY-vs-pro equation no YouTube video mentions, mostly because it doesn’t show up until something else goes wrong. You fix the thing, it works, and later the opener’s logic board dies. Suddenly the repair that “worked” is the reason the manufacturer won’t cover the board.
A few practical points to keep in mind:
- Read the door’s and the opener’s warranty documents before you touch either. Most list which repairs must be done by a qualified installer to keep coverage valid. It’s usually one paragraph in a document that shipped with the unit.
- The clock starts on the original install. A newer door that’s still under its manufacturer warranty is the one with the most coverage to lose. The older a door gets, the closer it is to the end of coverage anyway, and the less a DIY repair puts at risk.
- Document everything. Keep receipts and product information for whatever you install. If a part fails on its own, that manufacturer’s part warranty is separate from the door’s overall coverage.
- Don’t assume. A Clopay or LiftMaster warranty can sound ironclad and still exclude a specific class of repairs. Read it once so you’re not surprised later.
This is the one place where “the fix worked” and “the fix was worth it” can be two different answers. If your door or opener is still within its manufacturer’s coverage window, get a free estimate before you decide the repair is yours to make. The cost of the visit is often the cost of knowing the truth.
The Tools You Actually Need (and the One That Finds Door Problems)
The tools a homeowner needs for the safe DIY tasks are ordinary, cheap, and already in most garages. The one tool that tells you whether the door has a problem you can’t see is the one most people skip. Here’s the full list, in order of how much it matters:
- A good step ladder. A-frame, weight-rated, stable. You’ll use it for sensor alignment and remote programming.
- A garage-door-specific lubricant. Not general-purpose spray, not grease, not WD-40. A product labeled for garage doors.
- A socket set and screwdrivers. For sensor brackets, hinges, and cover plates. Basic sizes will do.
- An adjustable wrench. For lag bolts and bracket nuts.
- A tape measure and a level. For weatherstripping and bottom seals, and irreplaceable on a floor that has heaved.
- A proper winding bar kit. Only if a technician is on the job with you. These are not for DIY spring replacement.
- And the one that matters most: a scale and a balance test.
The balance test, done the safe way
You don’t need to touch a spring to know whether your door is in balance. You need a bathroom scale and your hands:
- Disconnect the opener by pulling the release handle so the door moves on its own.
- Raise the door to about waist height by hand and let it rest. It should stay where you put it, not drift up or down.
- Lower it slowly until it’s about a foot off the floor, then let it sit. It should stay put within an inch.
- Lower it again with the scale underneath one edge and note roughly how much weight the door is putting on the scale at its lowest travel. Uneven readings on the two sides mean the springs are lifting unevenly, which is a sign of a failing spring and a reason to call.
This is the one test that finds a problem before it becomes a failure. It’s also the test that prevents a homeowner from spending money on a door that just needs adjustment and from skipping the call on a door that’s about to fail. Our technicians have up to 8 years of experience running exactly this test. You can run it tomorrow with a scale you already own.
How to Talk to a Technician About Doing Part of the Job Yourself
You’d be surprised how many homeowners want to split a job, do the weatherstripping themselves, hand off the spring, and have one honest conversation about what’s fair. Some shops welcome that. Some don’t. The difference isn’t the technician’s mood; it’s the shop’s business model. Understand which kind of shop you’re calling before you get attached to a plan.
What a good split looks like:
- You own the exterior and easy-access work. Weatherstripping around the frame, caulking, painting, cleaning. Or you buy the seal and the technician installs it on the same visit as the spring.
- They own the parts that store energy or hold weight. Springs, cables, tracks, opener internals. This isn’t negotiable, and it’s not because the shop is being territorial.
- You agree in writing who owns which problem after the visit. If the seal leaks a month after you installed it, that’s yours. If the spring fails inside the part’s coverage, that’s the shop’s.
- You ask the right question up front. “I want to replace the weatherstripping myself. Can you handle the spring and give me a written flat price?” is a completely reasonable start to a schedule.
Shops that refuse split work usually refuse it for one of two reasons: their warranty is written to cover the whole door and they don’t want to muddy it, or they don’t want to lose the smaller jobs. Shops that are brand-agnostic and focused on one trade, like a specialist that works on LiftMaster, Chamberlain, Genie, and Clopay equipment, usually care more about getting the door working than about who installed the seal. Ask directly. The honest answer tells you a lot about the shop you’re calling.
Common Mistakes to Avoid
- Attempting the spring yourself because a video made it look simple. The video was made by someone who’d done it dozens of times. The energy in the spring doesn’t care how many views the video has. Call a professional.
- Replacing the bottom seal in July for a January draft. In St. Paul, the gap between door and floor changes with frost heave. Measure in the season you’re solving for.
- Using WD-40 as a lubricant. It’s a solvent, and it dries out the moving parts you were trying to help. Use a product labeled for garage doors.
- Forgetting the warranty paperwork. A successful repair that voids an opener or door manufacturer’s warranty costs more than the repair saved. Read the manual first.
- Assuming a noisy door needs new parts. Most of the time it needs the lubricant, a sensor adjustment, and a balance test, which together take an afternoon.
- Adjusting the opener’s force setting to “fix” a failing spring. Cranking the force up doesn’t fix a spring problem. It hides it until the opener burns out or a panel gets damaged.
- Not calling for a second opinion when a shop insists the whole door needs replacing. Brand-agnostic shops rarely need to push a replacement. Ask a specialist who works on what you already have.
See the difference
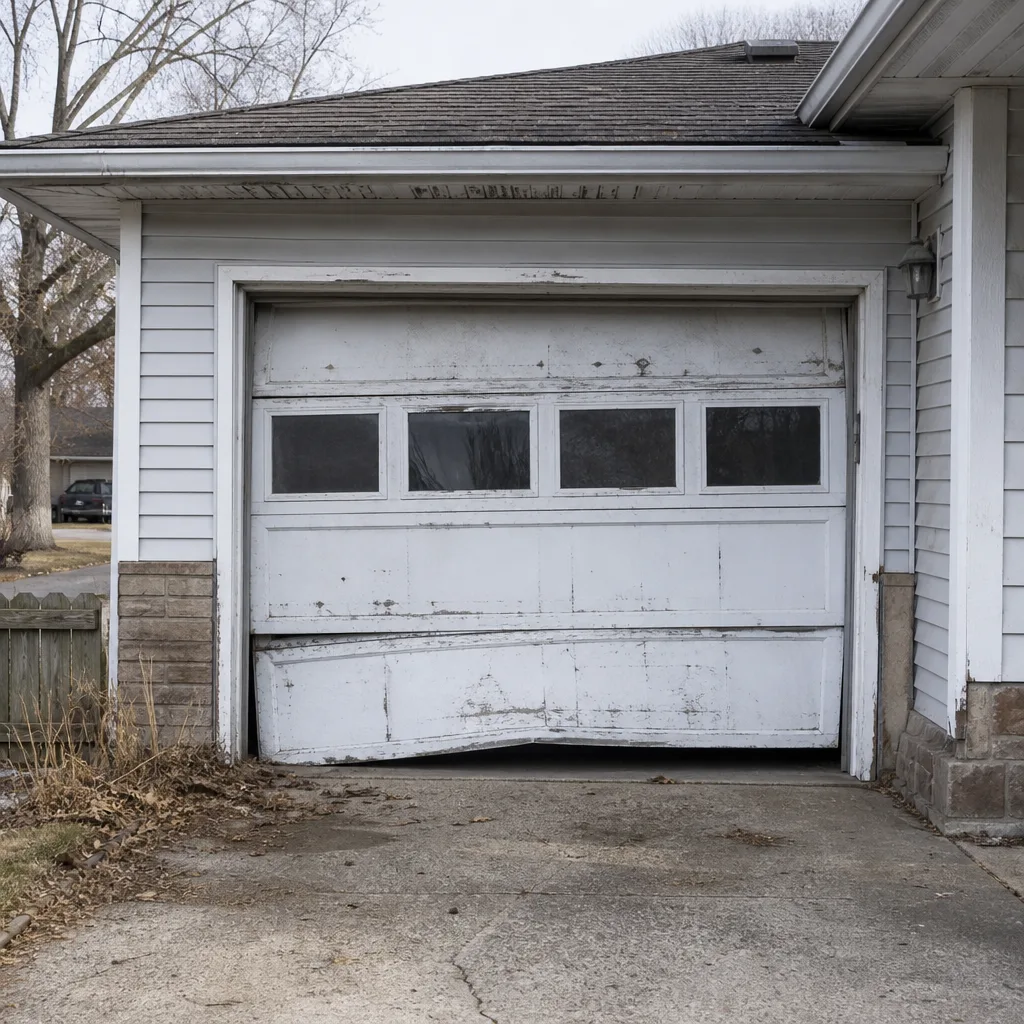 Before
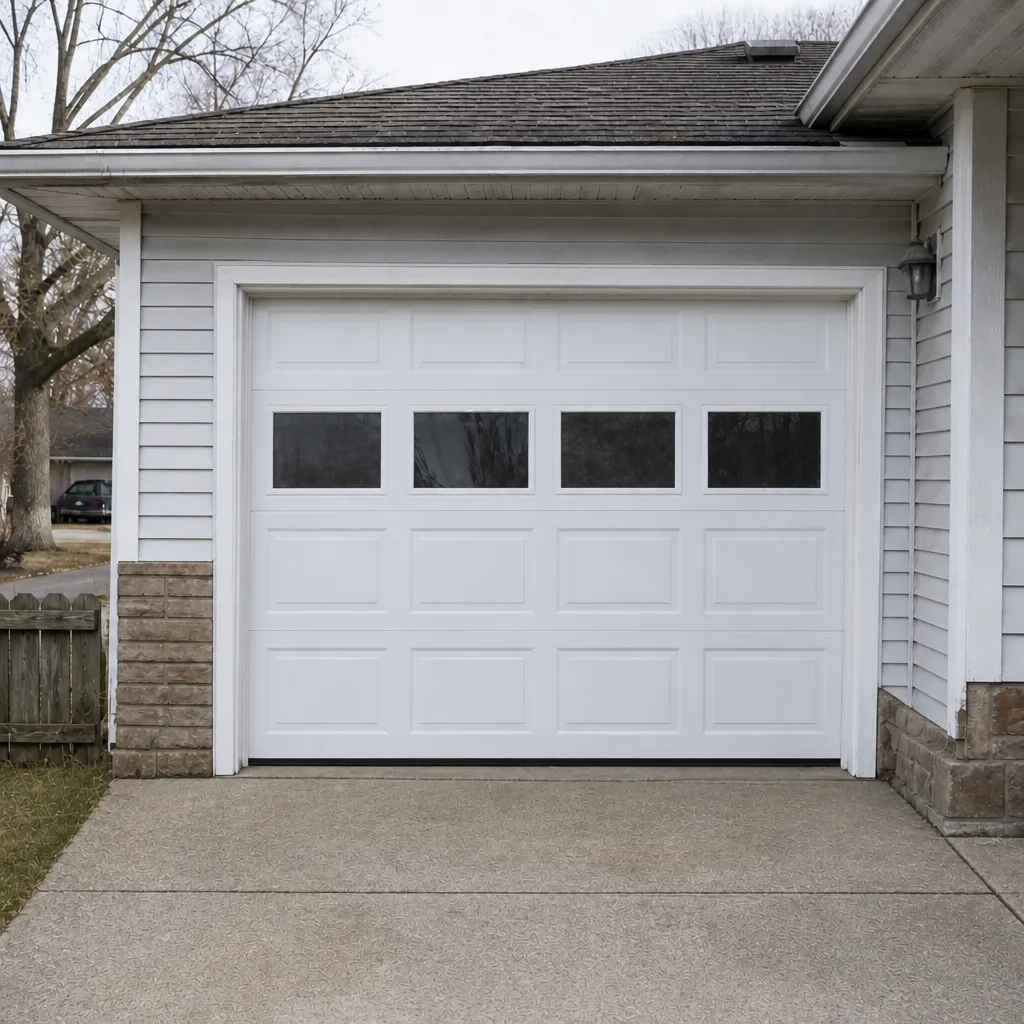 After
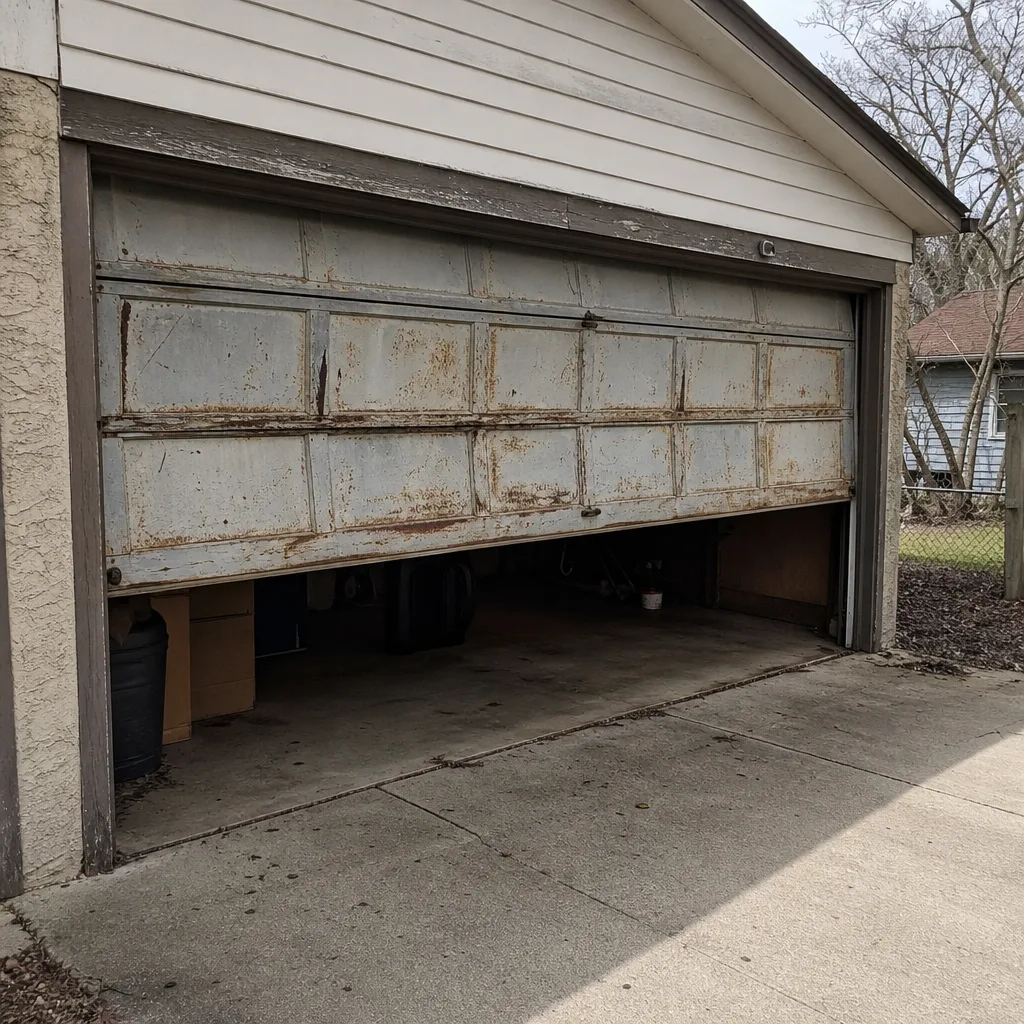 Before
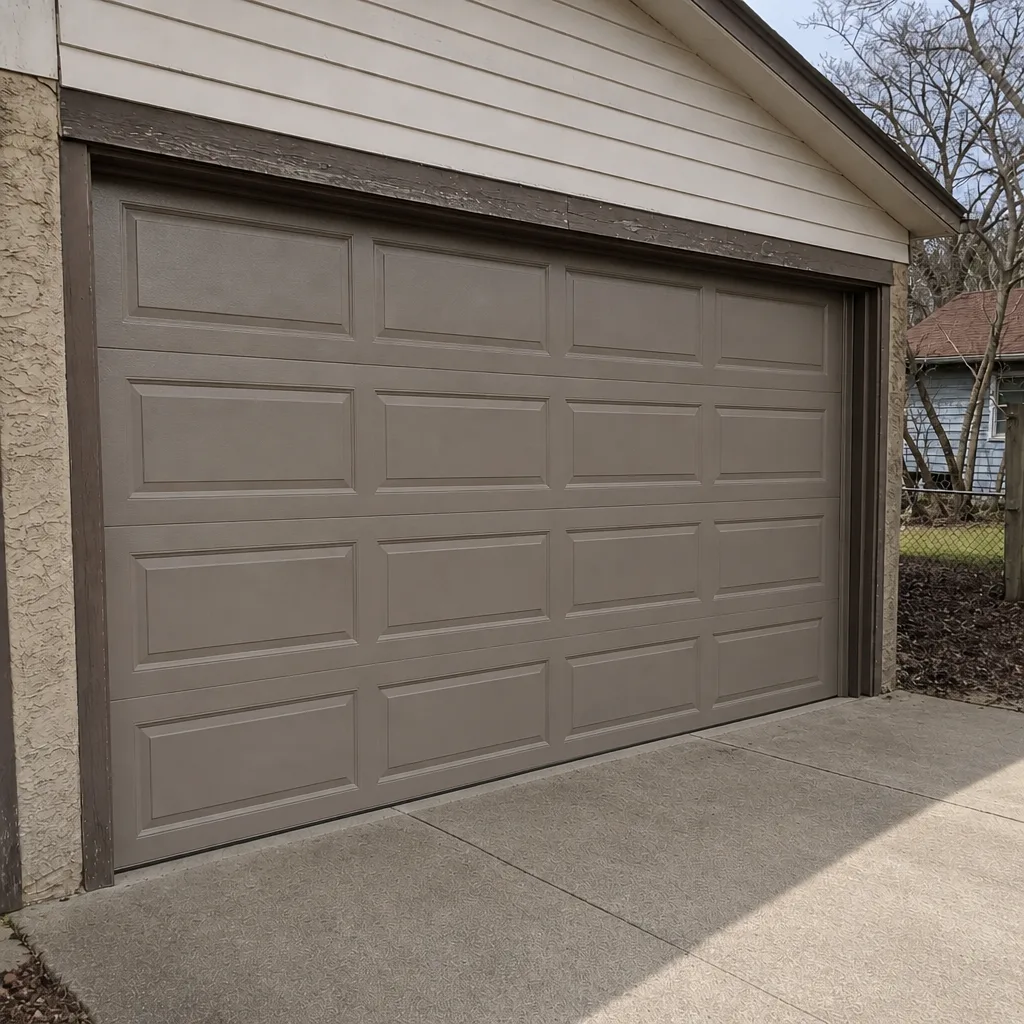 After
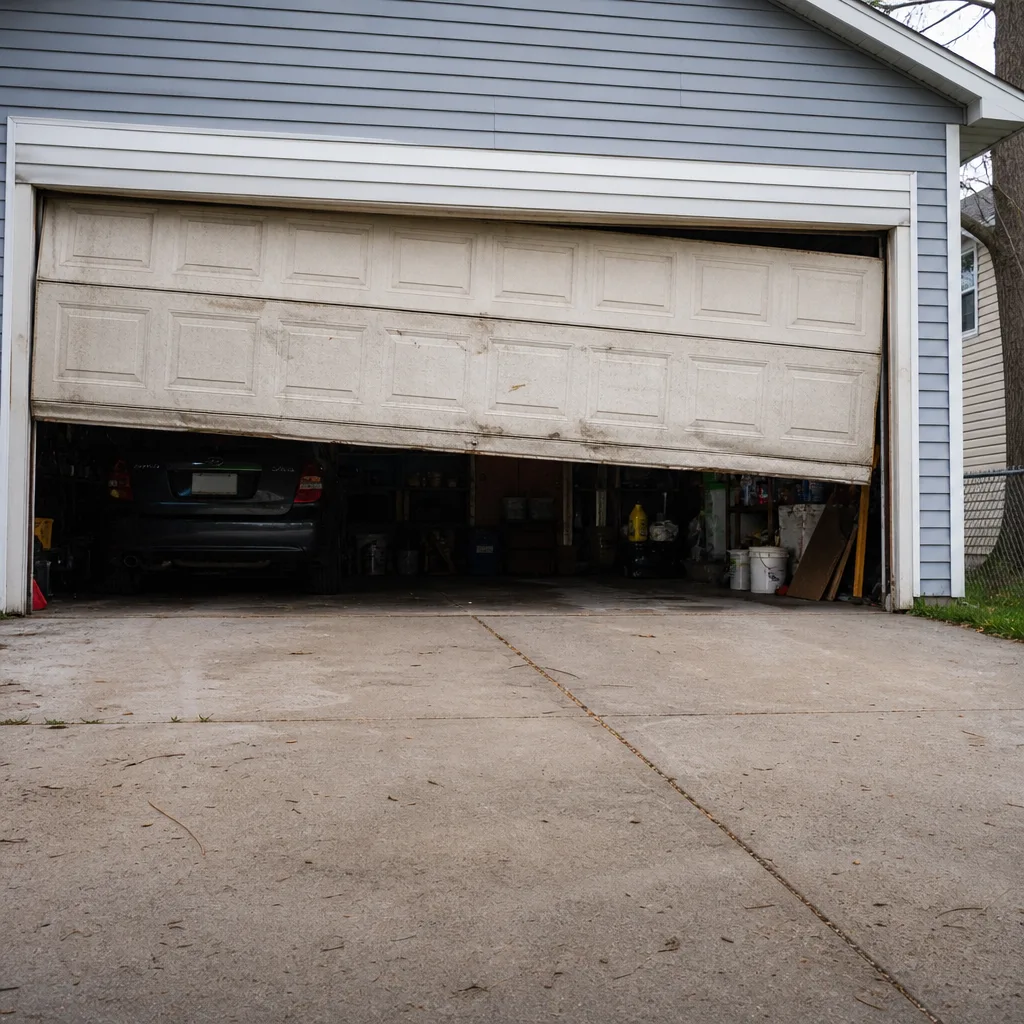 Before
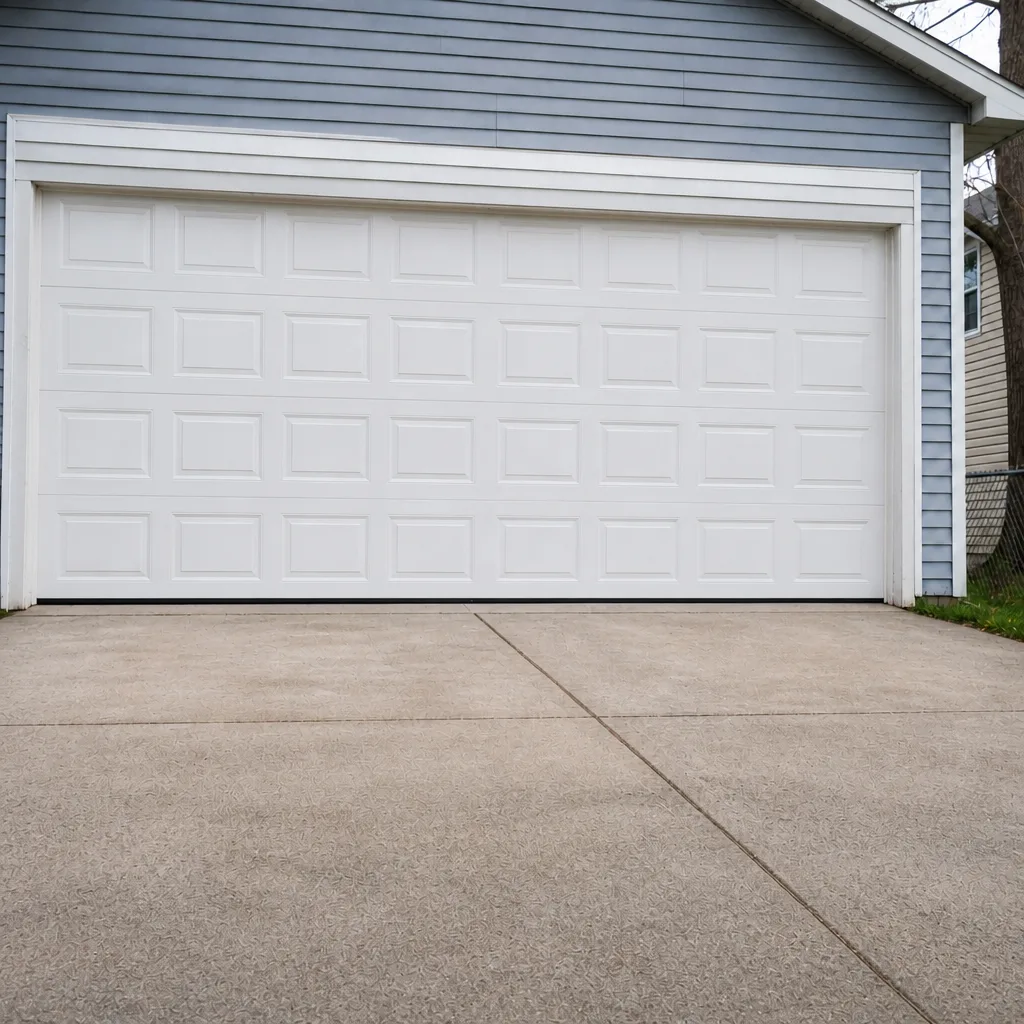 After
When to Call a Professional
Call for anything involving torsion springs, extension springs, or cables. Call if the door is crooked on one side, if a panel is buckled, if a cable looks frayed, if the opener’s logic board or drive gear is failing, or if the balance test shows the door drifting. Call if your door or opener is still within its manufacturer’s coverage. Call if you’ve priced a DIY repair and the parts alone are near what a written estimate would be. And call if you’re a homeowner in St. Paul who wants the door working before the weekend ends and would rather someone else climb the ladder. Harvest Garage Door Repair offers free estimates in St. Paul. Call (888) 270-3708. We answer 24/7. Fast dispatch from 7am to 7pm, Sunday through Friday.
Frequently Asked Questions
No. Torsion springs store roughly 100 foot-pounds of torque and release it in an instant when a winding cone or set screw slips, which is why springs are not a DIY repair. Cables carry similar stored force and can whip when they snap. Schedule a technician for spring or cable work. For the safe tasks like lubrication and sensor alignment, our team is happy to give you the occasional pointer. Call (888) 270-3708 for a free estimate on the parts that hold the door up.
Weatherstripping, lubrication, safety-sensor alignment, remote and keypad programming, visual inspection, and balance testing with a bathroom scale are all within a competent homeowner’s reach. Bottom seal replacement and roller replacement fall into a gray zone that depends on the part, the season, and whether the door is still under warranty. Springs, cables, tracks, and opener internals are professional work. If you’re unsure which side of the line a task sits on, call and ask. Estimates are free.
Usually not. Weatherstripping around the frame is typically not covered by the manufacturer’s warranty on the door or opener, and replacing it doesn’t affect the warranty on the sealed components. Interior parts, springs, cables, and opener internals are different. Most manufacturers require a qualified installer for those repairs to keep coverage valid. Read your warranty document before you start, and if it’s ambiguous, call (888) 270-3708 for a free estimate before you commit.
Frost heave changes the geometry of the gap between the door and the floor. As the ground expands and contracts with the freeze cycle, the slab beneath your St. Paul garage rises in winter and drops in spring, so a seal that fits in July can sit a quarter-inch off the floor in January. Measure the gap in the season you’re trying to solve for, and choose a deeper seal that can absorb the shift. If the gap has shifted enough that a new seal drags or bottoms out, call (888) 270-3708 for a free estimate.
Costs depend on the part and the door, so the straightforward answer is that you get a written estimate before anyone touches anything. Spring and cable work is priced per job and per spring, and a two-spring door is typically quoted as a matched pair. Sensor, remote, and seal work are smaller line items. We quote the price and agree on it before work starts, and the written estimate sets the final price. Call (888) 270-3708 for a free estimate.
Usually yes. We’re brand-agnostic and work on the equipment already on the door, including LiftMaster, Chamberlain, Genie, and Clopay systems, so a “must replace” verdict often just means the shop doesn’t support the brand. A second opinion costs nothing and tells you whether the first verdict was a real recommendation or a limitation. Call (888) 270-3708 for a free estimate in St. Paul.
You can do the balance test yourself with a bathroom scale, and it’s one of the best tools a homeowner has. Disconnect the opener, lift the door to waist height, let it rest, and lower it slowly to about a foot off the floor. If it drifts up or down, or the scale readings on the two sides are uneven, that’s a sign of a failing spring and a reason to call a professional. Call (888) 270-3708 for a free estimate.
The Bottom Line
Garage door repair isn’t a skill question. It’s a consequences question. Weatherstripping, lubrication, sensor alignment, remote programming, and balance testing are safe, cheap, and worth doing yourself. Springs, cables, and track work aren’t, because their failure modes involve stored energy against your hands and a door that weighs a few hundred pounds. In St. Paul, factor in the frost heave that changes the bottom seal geometry seasonally, and read the manufacturer’s warranty before you touch anything on a door or opener that’s still within coverage. A successful DIY repair that voids coverage is the most expensive repair of all. When in doubt, a free estimate in St. Paul settles it faster than a guess.
Whether it’s the door, the opener, or both, we work on the brand you already have. If you want an honest read on which parts of the job are yours and which aren’t, call (888) 270-3708 for a free estimate. We answer 24/7. Fast dispatch from 7am to 7pm, Sunday through Friday. We’ll give you a written price before any work starts, and we’ll be clear about what we recommend and what we’d skip.
Written by the team at Harvest Garage Door Repair.