
Last updated November 15, 2026
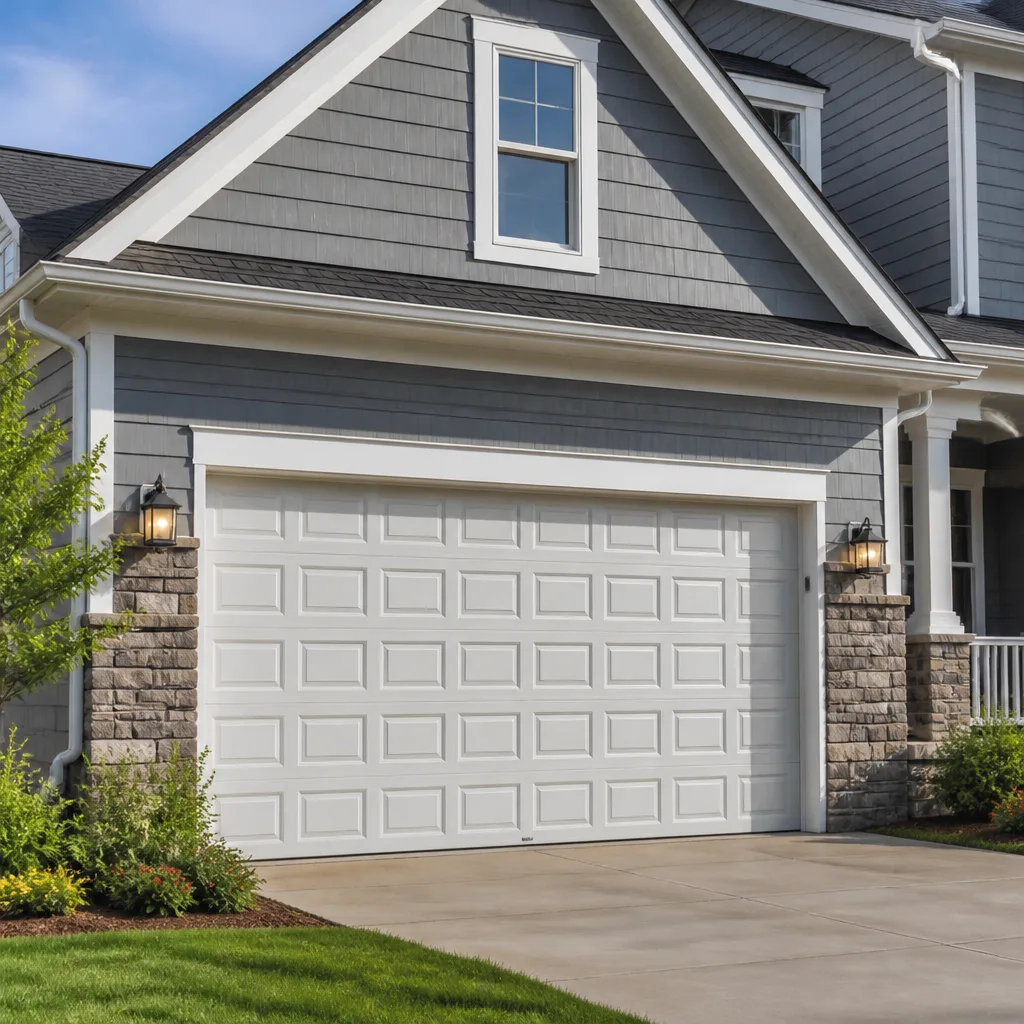 Raised-panel steel
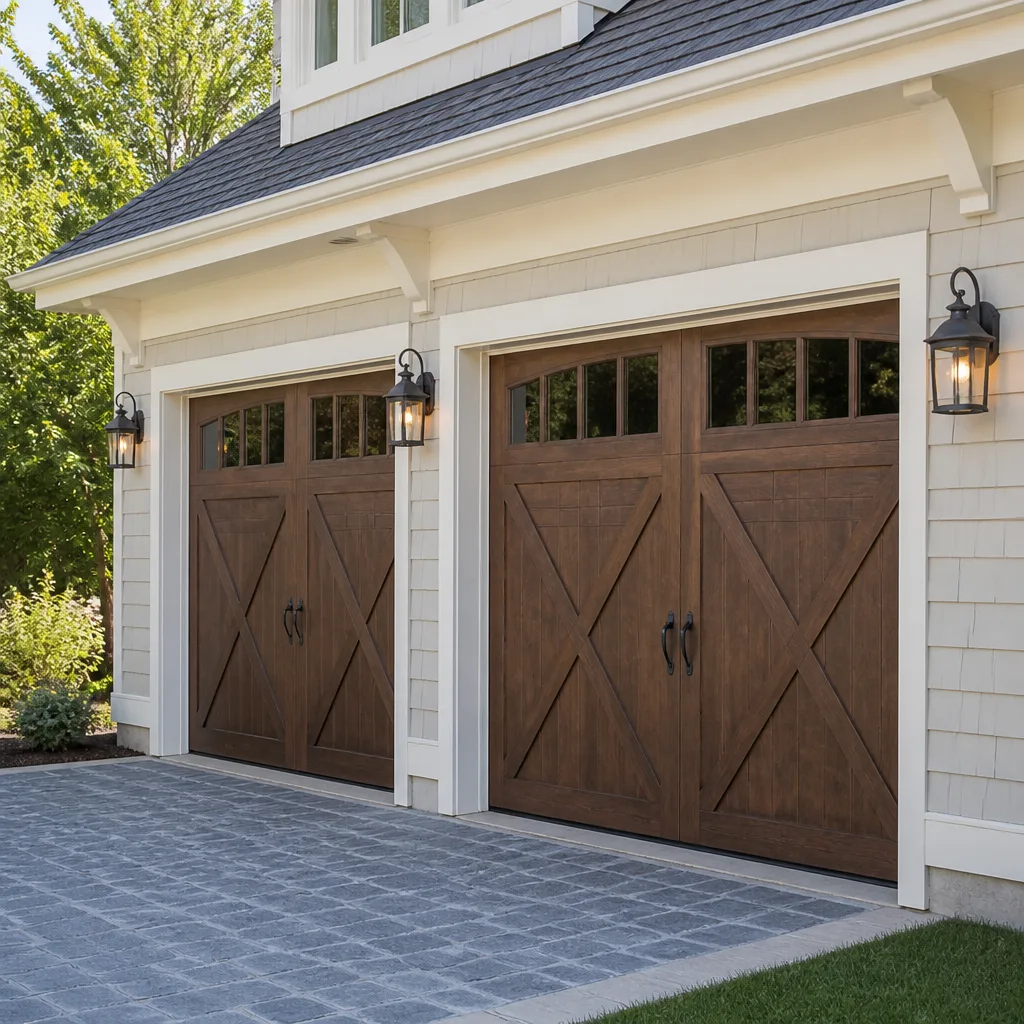 Carriage house
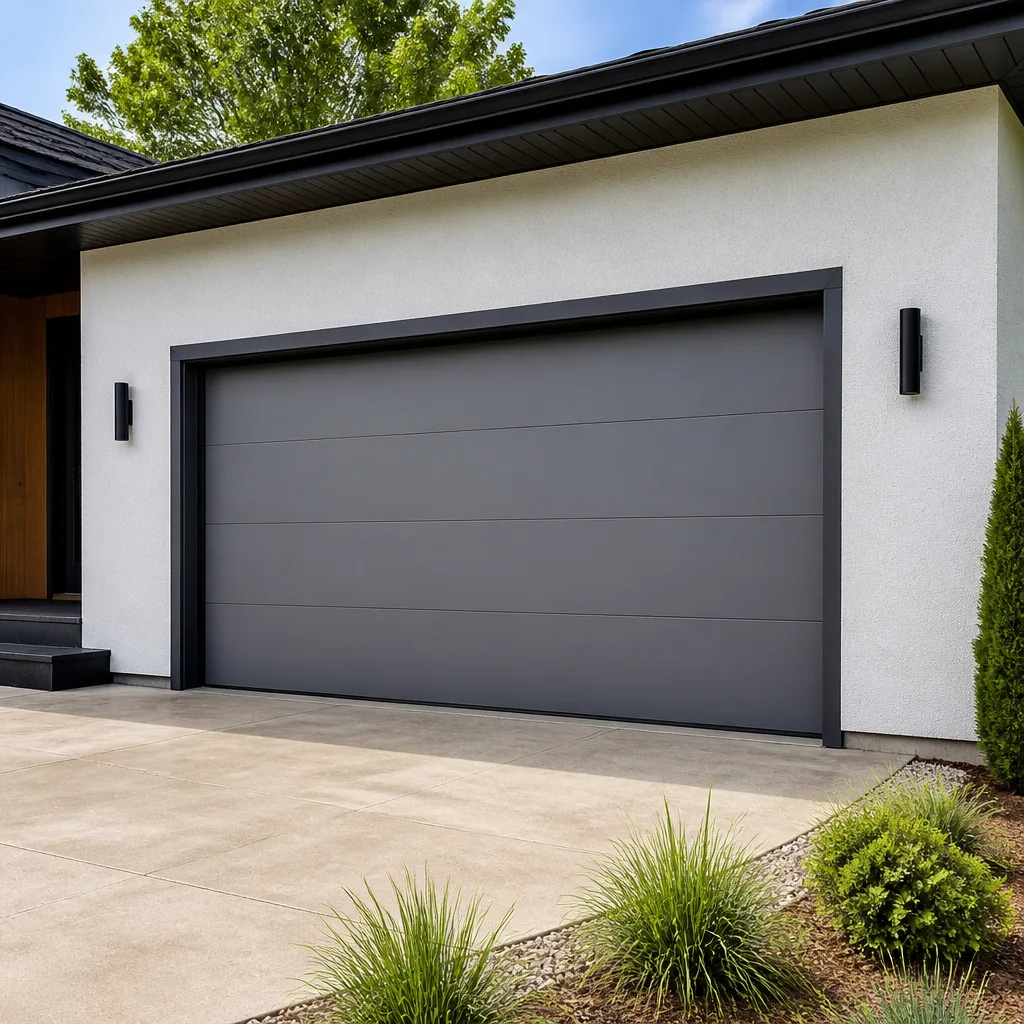 Modern flush
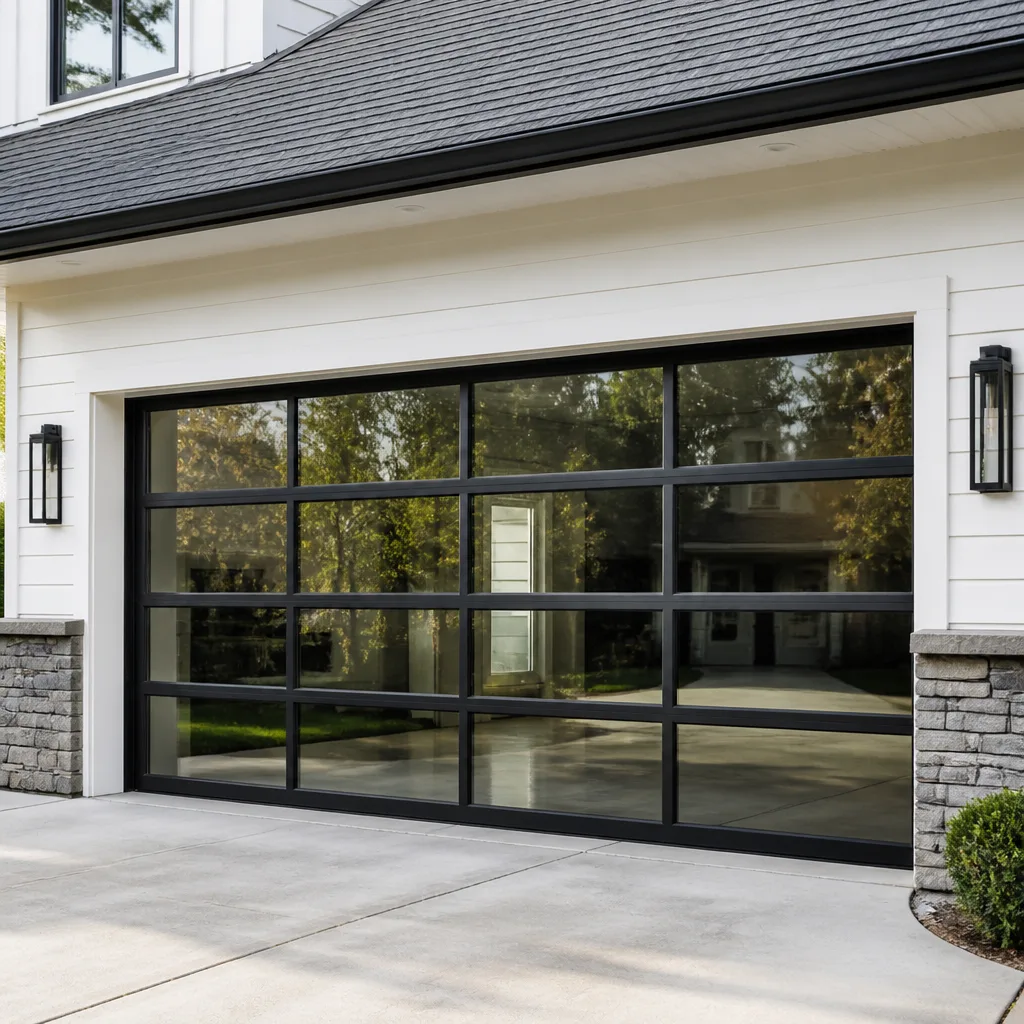 Full-view glass
 LiftMaster openers
 Chamberlain openers
Full 25-point door and opener safety check with every visit - springs, cables, rollers, tracks, and your LiftMaster or Chamberlain opener included
You get a price before we start. It does not change when the pro arrives.
Get your free estimateGarage Door Repair Troubleshooting in St. Paul: Common Problems and How to Fix Them
A door that reverses before it reaches the floor is almost never a sensor problem. That’s the first thing we explain to most homeowners, and it’s the misconception that costs the most afternoons. The opener’s safety sensors are the easiest thing to check, so they get blamed for everything – a door that won’t close, a door that bounces back up, a door that stops halfway. Nine times out of ten the real culprit is a torsion spring that’s lost tension, a track that’s out of plumb, or force settings that have drifted. You can spend two hours wiping and realigning sensors and the door will still reverse, because nothing about the sensors was ever wrong. This guide is a diagnostic map. It teaches you to read the sounds, movements, and error codes your door is giving you so you can trace the symptom back to the actual failed component, know what’s safe to touch, and know what genuinely needs a trained technician. That’s how garage door repair troubleshooting in St. Paul actually works when it’s done right.
Quick Answer
Most garage door failures in St. Paul trace back to four components: torsion springs, cables and drums, the opener’s force and limit settings, and track alignment. A door that reverses without contact usually points to a spring or force-setting problem, not a sensor. A door that grinds, jerks, or travels only partway usually points to a track, roller, or cable issue. Springs and cables carry the door’s full weight under high tension and are never a safe DIY repair; lubrication, sensor alignment, and limit adjustments are. When in doubt, stop operating the door and get it looked at.
Styles & brands we work with
- Raised-panel steel
- Carriage house
- Modern flush
- Full-view glass
- LiftMaster openers
- Chamberlain openers
Table of Contents
- The Symptom-to-Component Diagnostic Matrix
- How Minnesota Freeze-Thaw Cycles Affect St. Paul Garage Doors
- The Three-Zone Safety Check You Can Do in Five Minutes
- DIY-Safe Repairs vs. Repairs That Require a Professional
- Reading Opener Error Codes Across Brands
- Why Your Door Won’t Close (And Why It’s Rarely the Sensor)
- What Every Garage Door Noise Is Telling You
- Is It the Cold or Is It Broken? Distinguishing Weather Behavior from Failure
The Symptom-to-Component Diagnostic Matrix
Every garage door failure announces itself before it becomes a total breakdown. The trick is knowing which announcement means what. Think of your door system as a chain: opener, drive mechanism, torsion springs and cables, tracks and rollers, then the door panels and hardware. A symptom that shows up at the end of the chain – the door won’t close, the door is crooked – usually starts somewhere upstream. Trace it back and you fix the right thing the first time.
Here’s how the most common symptoms map to the components most likely at fault:
- Door reverses before touching the floor, no obstruction: torsion spring tension loss or force settings that have drifted downward on the opener. The opener senses resistance it can’t overcome and reverses for safety. The sensors are usually innocent.
- Grinding or scraping as the door travels: worn rollers, a bent track, or debris in the track channel. If the sound comes from the ceiling, suspect the opener’s chain, belt, or drive gear instead.
- Door jerks or shudders while moving: a worn roller, a track that’s out of alignment, or one spring carrying more load than its partner. Matched springs that were installed together and have aged unevenly cause exactly this.
- Door travels only partway, then stops: limit switch settings on the opener, a bound track, or a failing capacitor in the opener motor.
- Door won’t move at all, opener hums: a stripped drive gear, a broken spring, or a drive belt or chain that’s off its sprocket.
- Door hangs crooked or one side lags: a snapped or stretched cable on one side, a broken spring on a two-spring system, or a roller out of its track.
- Door slams down hard: a broken spring that’s no longer counterbalancing the door’s weight, or a force setting that’s too high.
- Remote works only up close: weak remote battery, an antenna wire that’s been knocked loose on the opener head, or LED lighting in the garage interfering with the radio signal.
The pattern repeats often enough that we can usually narrow a diagnosis down to two components over the phone, just by asking what the door does and when. That’s not a substitute for a technician putting hands on the system, but it does mean you’re not describing a “broken door” when you call – you’re describing a door that reverses twelve inches off the floor and won’t close on command. That level of detail makes the visit faster and the fix more accurate. If you want a specialist to trace the symptom for you, our garage door repair team handles all eight major brands and works on the system you already have rather than pushing a replacement you don’t need.
How Minnesota Freeze-Thaw Cycles Affect St. Paul Garage Doors
St. Paul winters are a stress test for garage door hardware, and the failure isn’t usually dramatic – it’s cumulative. The freeze-thaw cycle that runs from late fall through early spring means water gets into places it shouldn’t, freezes, expands, thaws, and then repeats. Over a season, that cycle pushes and pulls on the components that sit closest to the ground and closest to the outside air.
What freeze-thaw does to a garage door in St. Paul:
- Bottom seal freeze-stick: The rubber bottom seal bonds to the concrete apron when meltwater refreezes overnight. The opener strains to lift a door that’s glued in place, and repeated strain accelerates wear on the drive gear and springs. If your door lifts with a loud crack on cold mornings, that’s the seal breaking free, not a mechanical failure.
- Track misalignment: The metal tracks on the outside of the door frame shift slightly as the ground heaves and settles through a Minnesota winter. A quarter inch of movement at the floor can mean the door binds against the track at the top.
- Roller and hinge stiffness: Cold thickens lubricant and makes sealed bearings stiff. A roller that turns freely in October can drag in January, throwing the door off balance.
- Spring fatigue in the cold: Steel springs become slightly less elastic at low temperatures, so a spring that’s near the end of its life can give out on the first truly cold morning. That’s not coincidence – it’s the season exposing what was already weak.
- Panel and frame contraction: Wooden frames and steel panels shrink and expand at different rates. Weatherstripping pulls away from one side and gaps open at the corners.
The distinction matters because freeze-stick and misalignment are things you can address on your own – lubricate the seal with a silicone-based product, clear ice from the apron, and gently work the door loose. Spring fatigue is not. If a door won’t lift without the opener straining and the seal isn’t stuck, stop and get it looked at. Our St. Paul technicians see the freeze-thaw pattern on every block in the city, from the older homes around Summit Hill to the newer builds out toward Highland Park, and they know what cold-weather behavior looks like versus a genuine mechanical failure. Getting that call right the first time saves you a wasted service visit – and more importantly, it means you don’t run a door that’s about to fail completely.
The Three-Zone Safety Check You Can Do in Five Minutes
Before you call anyone, do a five-minute safety check. It won’t diagnose a specific component, but it tells you whether the door is safe to operate at all, and it gives you information a technician will ask for anyway. Check three zones, in this order:
- The springs (keep your distance). Stand on the ground and look at the springs above the door. On a torsion-spring system, they run horizontally across the top of the door with a shaft through them. On an extension-spring system, they run along the horizontal tracks. You’re looking for visible gaps between coils, a spring with a broken end sticking out, or a spring that sags off its center bracket. Do not touch them, do not measure them, and do not try to wind or unwind them. If a spring is broken, the door is unsafe to operate – stop and call a technician.
- The cables (look, don’t tug). Follow the cables from the bottom corners of the door up to the drums at the top of the tracks. Look for frayed strands, kinks, or a cable that’s off its drum. A cable that’s come off the drum means the door is no longer supported on that side and should not be moved.
- The track alignment (visual only). Stand back and look up the vertical tracks on both sides. They should be parallel to the door, plumb, and free of bends. Look at the gap between the roller and the track – a visible gap on one side and not the other means the track has shifted. Also check that the door’s bottom edge sits level on the floor when closed. A crooked closed door means the system is out of balance.
If all three zones look clean, run the door once and watch it travel. Open, then close, and stand where you can see the full path. If it travels smoothly, stops where it should, and reverses when you wave something through the safety beam, the door is likely operating normally and any noise or hesitation you noticed may be early warning rather than active failure. That’s the moment to schedule a service visit – before a worn part becomes a broken one. If any zone shows a broken spring, a cable off its drum, or a visibly bent track, don’t operate the door again until a professional has looked at it.
DIY-Safe Repairs vs. Repairs That Require a Professional
The garage door is one of the few home systems where a wrong repair can seriously injure you. Torsion springs are wound to carry the full weight of the door – often 150 to 250 pounds or more – and a spring that lets go under load is genuinely dangerous. Cables are equally under tension. So the honest split isn’t about difficulty or cost; it’s about whether the component stores energy that can hurt you when it releases.
Safe for most homeowners:
- Lubricating hinges, rollers, tracks, and the spring coils with a proper garage door lubricant (not WD-40, which is a solvent, not a lubricant).
- Aligning safety sensors – the small photo-eye units near the floor on each side of the door – so they face each other squarely.
- Adjusting the opener’s limits (how far up and down the door travels) and force settings, following the opener manufacturer’s instructions.
- Replacing the remote battery, re-pairing a remote, and checking the opener’s antenna wire.
- Clearing debris and ice from the track and from the concrete apron under the door.
- Tightening loose hinge and bracket bolts at the door panel.
- Replacing the bottom weather seal on a door that’s operating normally.
Requires a trained professional:
- Replacing torsion springs or extension springs, including a matched pair.
- Any work on the cables or the cable drums at the top of the tracks.
- Replacing a bent or misaligned track section.
- Replacing the opener’s drive gear or capacitor.
- Any repair where a broken spring or cable is already present – the door must not be operated until the load is made safe.
If you’re not sure which side of the line a repair falls on, treat it as professional work. The cost of a service call is small compared to an injury from a loaded spring. When a component is genuinely at the end of its life, the right fix is a repair, not the easiest upsell – and a specialist who works on all the major brands, including Raynor and LiftMaster systems, can usually replace the part on the door you already have rather than pushing a full replacement.
Reading Opener Error Codes Across Brands
Modern openers log their faults in short blinks and codes, and those codes are the fastest way to a diagnosis if you know what you’re looking at. The exact code varies by brand and model, so always check the sticker inside the opener head or the manufacturer’s manual for the definitive meaning. But the patterns repeat enough across the major brands that a few flashes can tell you a lot before you call.
How the codes are delivered: Most openers communicate through a diagnostic LED on the motor head or the wall control panel, using a sequence of short and long flashes. Count the blinks in the sequence, pause, and count again if the sequence repeats. Write the number down – a technician can use it to bring the right part on the first visit.
What the common patterns usually mean:
- Safety sensor fault (the most common code): Often a quick blink sequence that repeats. This usually means the beam is blocked, the sensors are misaligned, or a wire has come loose. Before calling, check for anything in the beam path, then confirm the LED on each sensor is solid.
- Force or obstruction fault: Typically signaled when the door hits resistance on the way down and reverses. If there’s no obstruction, the door itself is likely binding – a track, roller, or spring issue showing up through the opener’s sensors.
- Travel or limit fault: Usually signals that the opener has lost track of where the door’s open and closed positions should be. A limit readjustment often clears it.
- Motor or drive fault: A code that persists after you’ve cycled power and cleared obstructions usually points to the drive gear, capacitor, or logic board. That’s an opener-repair job, not a door adjustment.
- Radio or remote fault: Often signaled when the opener receives a signal it can’t interpret. Re-pair the remote and check the antenna wire before assuming the board is bad.
Chamberlain and LiftMaster openers (they share a diagnostic language) and Genie openers all use this blink-pattern system, though the exact codes differ. When you call, tell us the brand, the model if you can find it, and the blink sequence. That’s often enough to identify the likely cause before a technician arrives. If opener fault codes keep returning even after a reset, our garage door opener repair team specializes in the drive systems, safety sensors, and smart-home integrations that cause the most frustrating failures – a door that won’t answer the remote at all.
Why Your Door Won’t Close (And Why It’s Rarely the Sensor)
A door that opens fine but won’t close is the single most common call we get, and the safety sensor gets blamed for most of them. Here’s the truth: the sensors fail far less often than the other components that trigger the same behavior. The opener’s safety system monitors the force required to move the door, not just the photo-eye beam. When the door meets resistance it shouldn’t, the opener reverses – and the homeowner sees “door won’t close” and assumes sensor.
Run through this sequence before you schedule a visit:
- Check the beam, but don’t stop there. Look for anything in the path of the two photo-eye sensors near the floor – a shovel, a recycling bin, a box, snow piled against the door. Confirm both sensor LEDs are solid, not blinking. If they’re solid, the sensors are unlikely to be the problem.
- Run the door by hand. Disconnect the opener (pull the emergency release cord) and lift the door halfway, then let it settle. It should stay roughly where you put it. If it slams down or refuses to stay up, the springs are weak or broken – that’s your answer, and it means a pro.
- Look at the closed position. Stand outside and see whether the door’s bottom edge sits level on the seal. If it’s crooked, the door is binding against one track or a cable is off its drum.
- Check the side the door is catching on. Open the door, then close it slowly and watch both sides. If one side lags or the door racks, that’s a track or cable issue.
- Reset the opener and try again. Cycle the power, clear any diagnostic codes, and test. If the door still reverses before contact, the opener’s force settings have likely drifted low – or a mechanical component is creating resistance the opener reads as an obstruction.
If you get through that list and the door still won’t close, you’ve narrowed it down to springs, cables, track, or opener force settings – four things a technician can diagnose quickly. The key is not to keep running the door while it’s binding. Every cycle strains the opener’s drive gear and the springs a little more, and a repair that would have been simple can become a bigger job. When in doubt, stop and call.
What Every Garage Door Noise Is Telling You
Noise is the door’s early warning system. A well-maintained door is quiet – a low hum from the opener and a soft roll from the rollers. New noises are diagnostic clues, not just annoyances. Learning to listen saves you money because you fix the worn part before it fails and takes something expensive with it.
A rhythmic squeak or squeal: Usually dry rollers or hinges. Lubricate them and see whether the noise changes. If it persists after lubrication, a roller bearing is likely worn and the roller needs replacing.
A grinding sound from the track: Debris in the track, a bent track section rubbing the roller, or a roller that’s come out of its channel. Stop the door and inspect the track.
A grinding sound from the ceiling: The opener’s chain or belt is rubbing, or the drive gear is wearing. If the door also hesitates, the gear is the suspect.
A loud bang from above the door (often on a cold morning): A torsion spring just broke. The door will typically be too heavy to lift by hand, and the opener may not move it. Stop operating the door and call a professional.
A rattle that gets worse over time: Loose hinge and bracket bolts, or worn rollers with play. Tighten and lubricate; if the rattle involves a panel rocking independently, the hinge or the panel itself is compromised.
A rhythmic thump or pop as the door travels: A flat spot on a roller, or a hinge that’s binding. Both are inexpensive to fix before they affect the door’s alignment.
In our experience, the difference between a homeowner who spends a little on maintenance and one who ends up with a bigger repair usually comes down to whether the noise was addressed early. Grinding and squealing are almost always the cheap fix. The bang of a broken spring is the expensive one – and it’s often preceded by weeks of squeaking that nobody acted on.
Is It the Cold or Is It Broken?
St. Paul doors behave differently in February than they do in June, and the difference is not always a fault. The trick is knowing which cold-weather behavior is normal and which is masking a real problem that will get worse.
Normal cold-weather behavior:
- The door moves slightly slower as lubricants thicken. A short delay at the start of travel is normal in extreme cold.
- The bottom seal sticks to the concrete on a cold morning, and the door lifts with an initial resistance. This is freeze-stick, not spring failure – if the resistance clears immediately and the door then travels normally, it’s the seal.
- The opener’s remote works from a slightly shorter distance. Cold affects remote batteries and reduces radio range.
Not normal – a real component failure:
- The door reverses without contact even after the seal has broken free and the operator continues to see resistance on the close cycle.
- The door binds halfway up and stops at the same point every time, regardless of temperature after the first half-minute.
- The door hangs crooked, or the bottom panel sits on one side and not the other.
- A spring is visibly broken, a cable is off its drum, or the door is too heavy to lift by hand.
- The door travels smoothly in warm weather but fails in cold every time – with the seal cleared. That usually points to a track or roller that’s shifting with the frost, which is a mechanical alignment issue, not just the cold.
If you can’t tell which category you’re in, do the seal test: clear the concrete apron, lubricate the seal with a silicone-based product, and run the door once. If it moves cleanly, it was the weather. If it still hesitates or reverses, it’s mechanical, and the right move is a professional look rather than another cycle of trying to fix it. A door that’s repeatedly run while binding will wear out its springs and opener faster, and what could have been a track adjustment becomes a bigger repair. Our team works on the door system that’s already on the house – Raynor, LiftMaster, Chamberlain, Genie, and the other common brands – so you don’t get told the whole system needs replacing because a technician doesn’t work on that brand.
Common Mistakes to Avoid
- Treating every reversal as a sensor problem. If both sensor LEDs are solid and the beam is clear, you’ve ruled the sensors in or out in under a minute. Continuing to clean and reposition them wastes time and leaves the real spring or force-setting issue untouched.
- Using the wrong lubricant. WD-40 and general household oils are solvents, not lubricants – they’ll strip the good lubricant out and leave the rollers dry. Use a garage-door-specific lubricant on hinges, rollers, and track channels.
- Trying to “tighten up” a torsion spring. Springs are under hundreds of pounds of tension. Adjusting one without training can cause serious injury. This is the one repair in the whole system where the DIY caution is not a scare tactic.
- Running a door with a broken spring. The opener will strain to lift the full weight of the door through a mechanism designed to lift a balanced one. The opener usually pays the price, which turns a spring repair into a spring-plus-opener repair.
- Ignoring the crooked closed position. A door that closes level in summer and sits crooked in winter means the track is shifting with the frost. Every cycle on a misaligned track wears the door and rollers a little more. Fix the alignment rather than living with the noise.
- Assuming the whole system needs replacing. A failing opener or a single broken component is almost always a repair. A specialist who works on the brand you already have can service the door and opener you own instead of pushing a full replacement.
- Not writing down the error code. The blink sequence on the opener head is the fastest diagnosis you’ll ever get. Write it down or snap a photo before you call; the technician can often identify the fault from the code alone.
See the difference
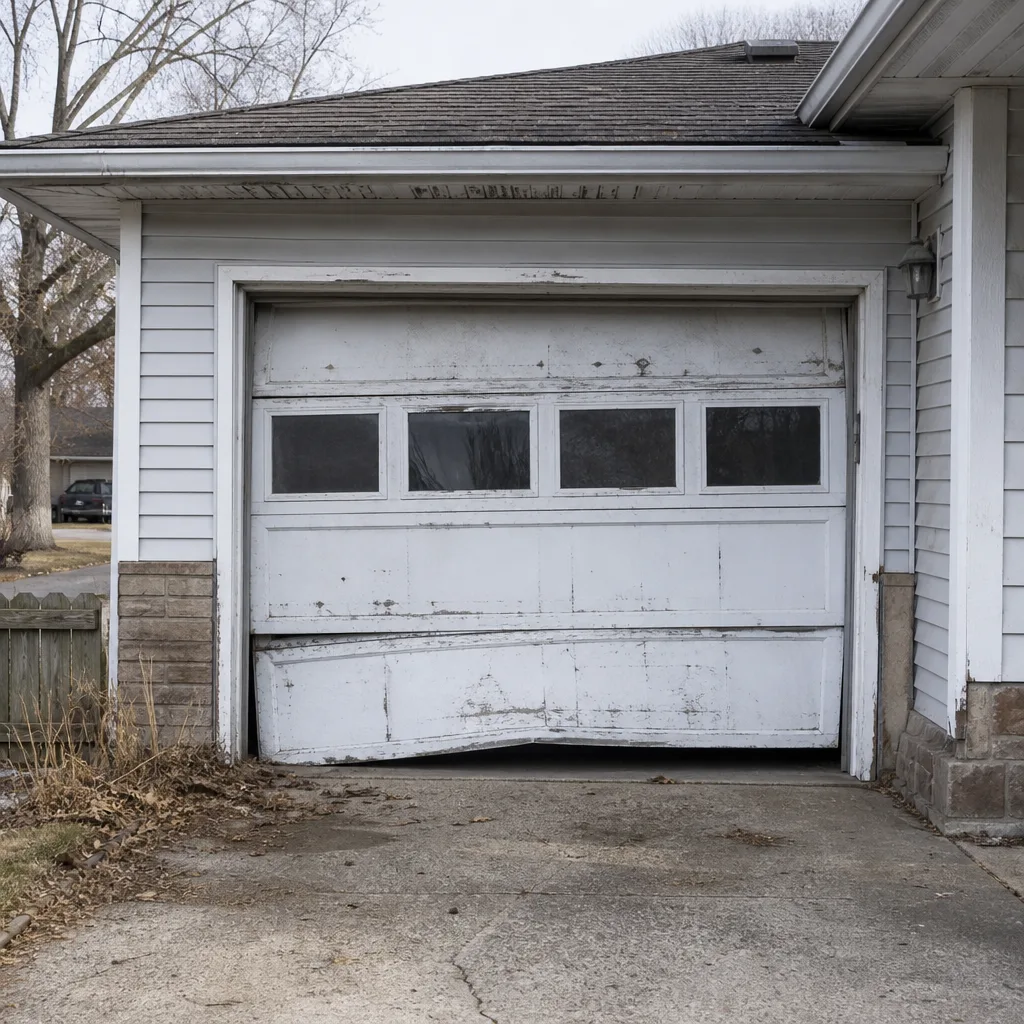 Before
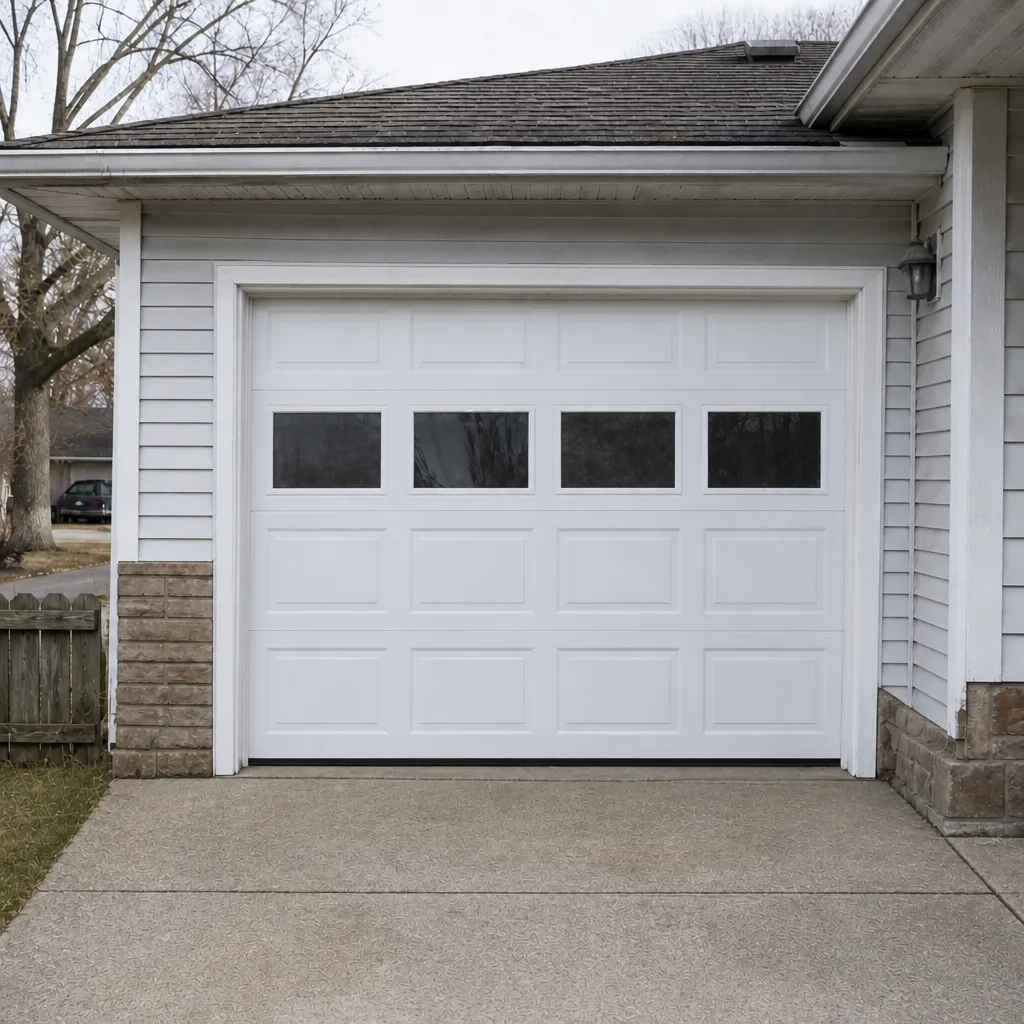 After
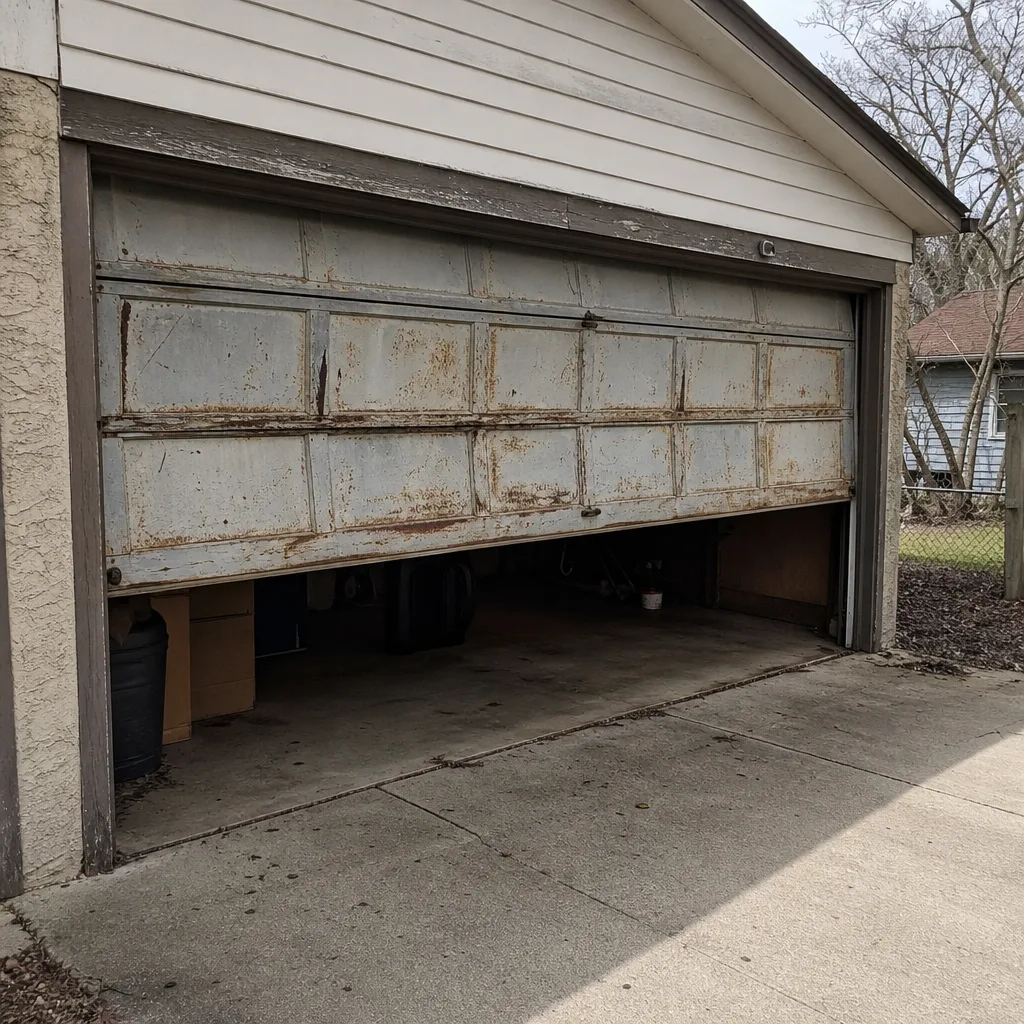 Before
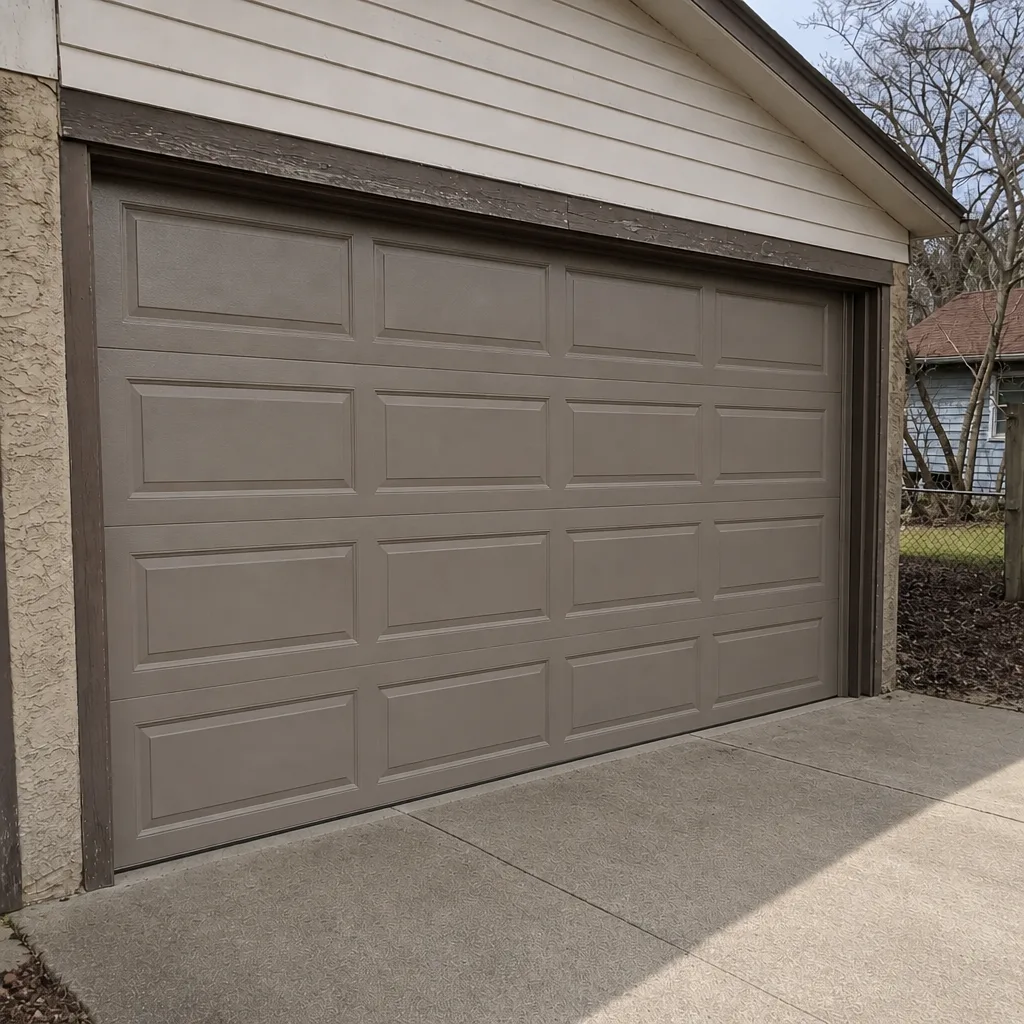 After
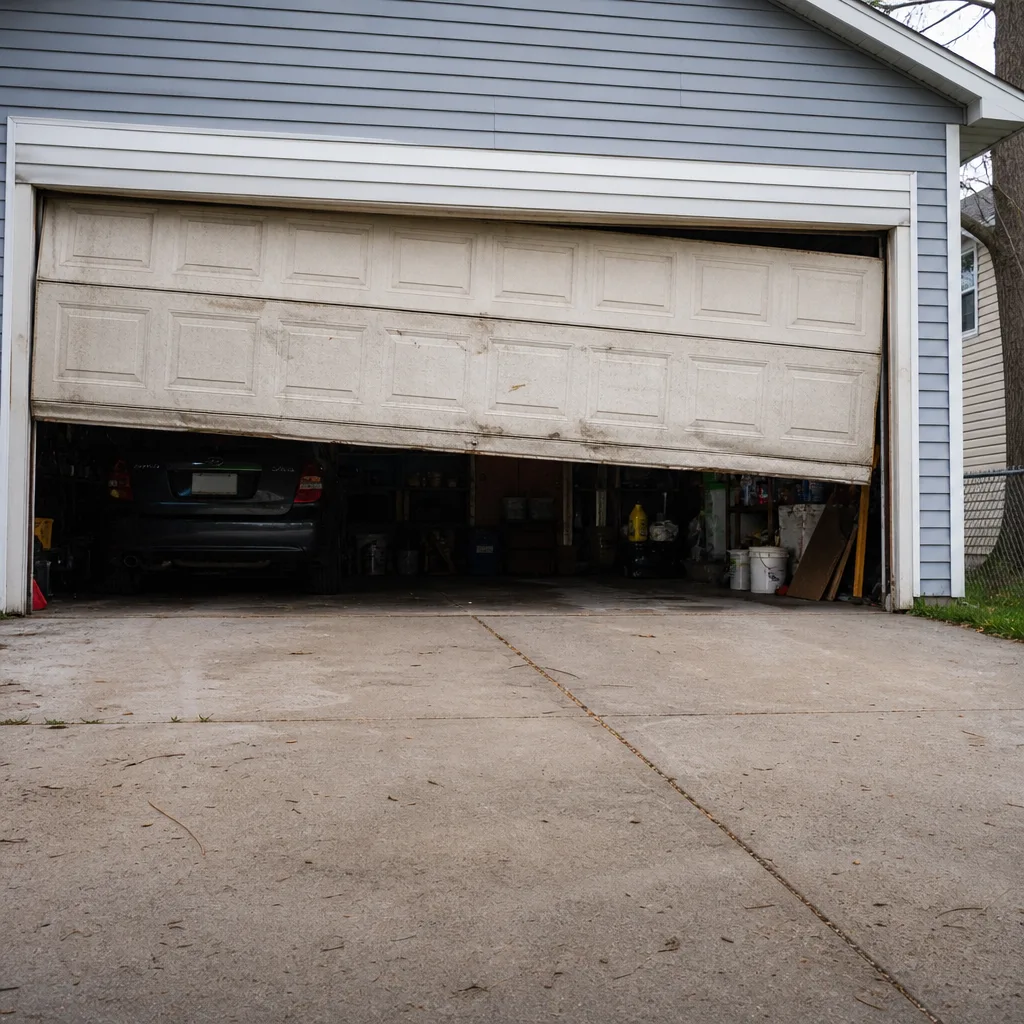 Before
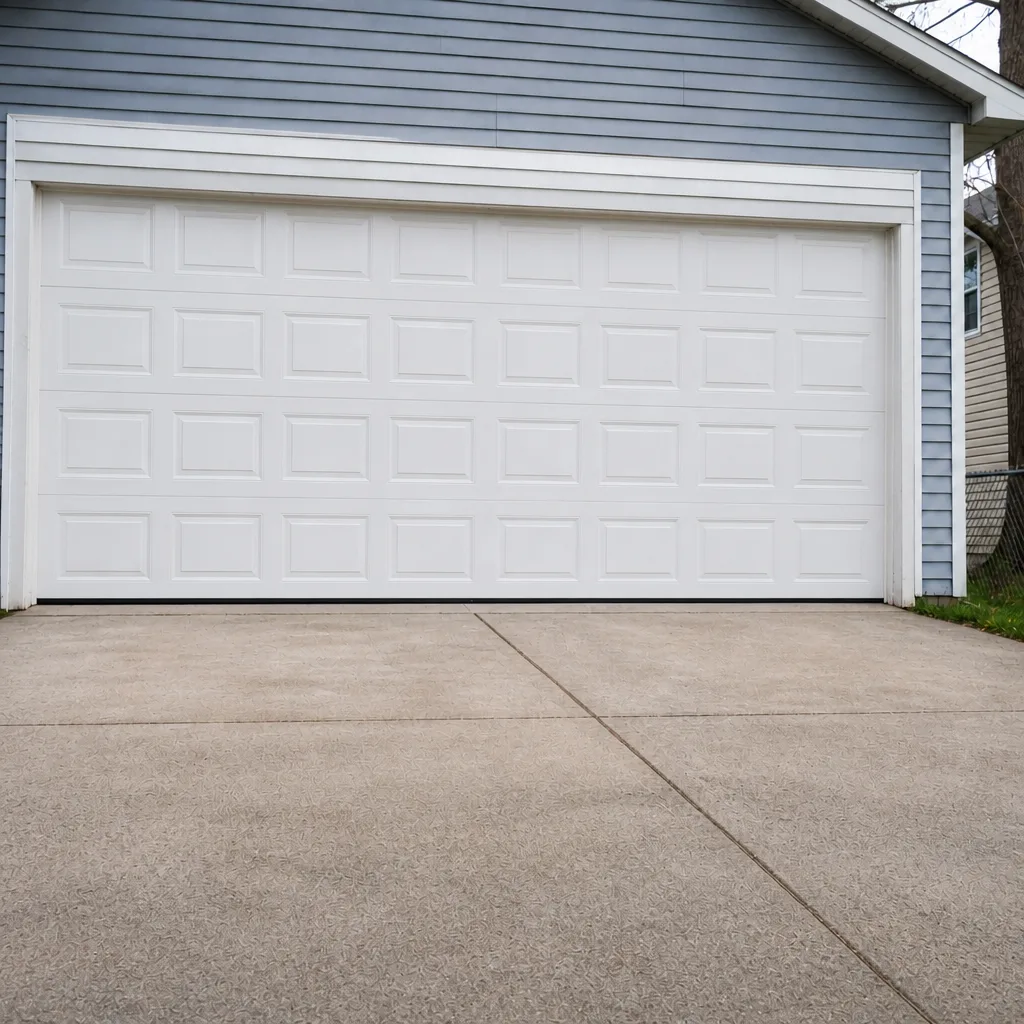 After
When to Call a Professional
Call a professional the moment you see a broken spring, a cable off its drum, a visibly bent track, or a door that’s too heavy to lift by hand. Those are load-bearing failures and the door should not be operated until the system is made safe. Call when the door reverses repeatedly with the sensors clear, when the door binds or hangs crooked, when the opener hums but doesn’t move the door, or when a new noise or hesitation persists after lubrication. And call if you’re simply not sure – a free estimate is cheaper than a wasted weekend and the risk of making a repair you can’t see is worse. Harvest Garage Door Repair offers free estimates in St. Paul. Call (888) 270-3708. We answer 24/7. Fast dispatch from 7am to 7pm, Sunday through Friday. Our technicians have up to 8 years of experience, and garage doors are all we do.
Frequently Asked Questions
In most cases it’s a torsion spring that’s lost tension or an opener force setting that has drifted, not a sensor problem. The opener reads resistance it shouldn’t and reverses for safety. Clear the beam path, confirm both sensor LEDs are solid, then run the door by hand with the opener released – if it won’t stay up, the springs are the cause. Call (888) 270-3708 for an exact quote; estimates are free.
The final price depends on whether the door has one spring or a matched pair, the spring type, and the door’s weight, so it’s set per job by a written estimate after we’ve seen the door. A matched pair is usually replaced together, which is a different job from a single spring. Call (888) 270-3708 and we’ll schedule a free estimate – the price you agree to before work starts is the price you pay.
Our technicians are state-licensed and insured, and they specialize in garage doors only – repair, opener repair, and installation. Every job is quoted and agreed before any work starts. Call (888) 270-3708 for a free estimate.
Often, yes. We dispatch Sunday through Friday from 7am to 7pm, and same-day service is available for repair calls depending on the schedule. Call (888) 270-3708. We answer 24/7. A call outside dispatch hours is booked into the next opening, Sunday through Friday, 7am to 7pm.
No. The price is set by the written estimate and agreed before any work begins. If we find something unexpected, we’ll explain it and re-quote before touching anything – the invoice matches the estimate you agreed to. Call (888) 270-3708 for an exact quote; estimates are free.
We work on the brand you already have. Our technicians are trained and experienced on eight of the most widely installed brands – LiftMaster, Chamberlain, Genie, Clopay, Amarr, Wayne Dalton, Craftsman, and Raynor – and repair is brand-agnostic. You won’t be told the system needs replacing because a technician doesn’t support it. Call (888) 270-3708 to schedule a free estimate.
The bottom seal is usually bonding to the concrete as meltwater refreezes overnight, and the opener has to break it free on the first cycle. Clear ice from the apron and apply a silicone-based lubricant to the seal. If the door still binds after the seal has broken free, that’s mechanical – a track or roller issue – and it needs a professional look. Call (888) 270-3708.
Stop running it. A humming opener with no movement usually means a stripped drive gear, a broken spring, or a drive belt or chain off its sprocket. None of those fix themselves with another cycle, and continued operation can turn a small repair into a bigger one. Call (888) 270-3708 for a free estimate.
The Bottom Line
Most garage door failures aren’t mysterious – they’re misdiagnosed. The door reverses and everyone blames the sensors; the door grinds and everyone assumes the opener is dying; the door sticks in January and everyone assumes it’s just Minnesota. Trace the symptom to the component and you fix the right thing the first time. Springs and cables stay in the professional column, every time. Lubrication, sensor alignment, and limit adjustments are yours to handle. When the symptom points to a loaded component, stop operating the door and call a specialist who works on the brand you already have. That’s how garage door repair troubleshooting in St. Paul is supposed to work, and it’s how we approach every door we touch – the right fix, not the easiest upsell. Whether it’s the door, the opener, or both, we’re here to get you back up and running.
Call Harvest Garage Door Repair at (888) 270-3708 for a free estimate. We answer 24/7. Fast dispatch from 7am to 7pm, Sunday through Friday. The price is quoted and agreed before any work starts, and the written estimate sets the final price. Our technicians have up to 8 years of experience, garage doors are the only trade we work in, and we service the system you already have.
Written by the team at Harvest Garage Door Repair.